Aiwa NSX-S989 VFD/Dot Matrix display
PROJECT NSX 1982
-
As a kid, I remember being mesmerized by digital stereo system's displays.
These were typically a large brutal box of silver or black, with numerous buttons, knobs and switches.
The fancier ones had massive displays for the audio waveform and various flickering effects.
These were typically a large brutal box of silver or black, with numerous buttons, knobs and switches.
The fancier ones had massive displays for the audio waveform and various flickering effects.
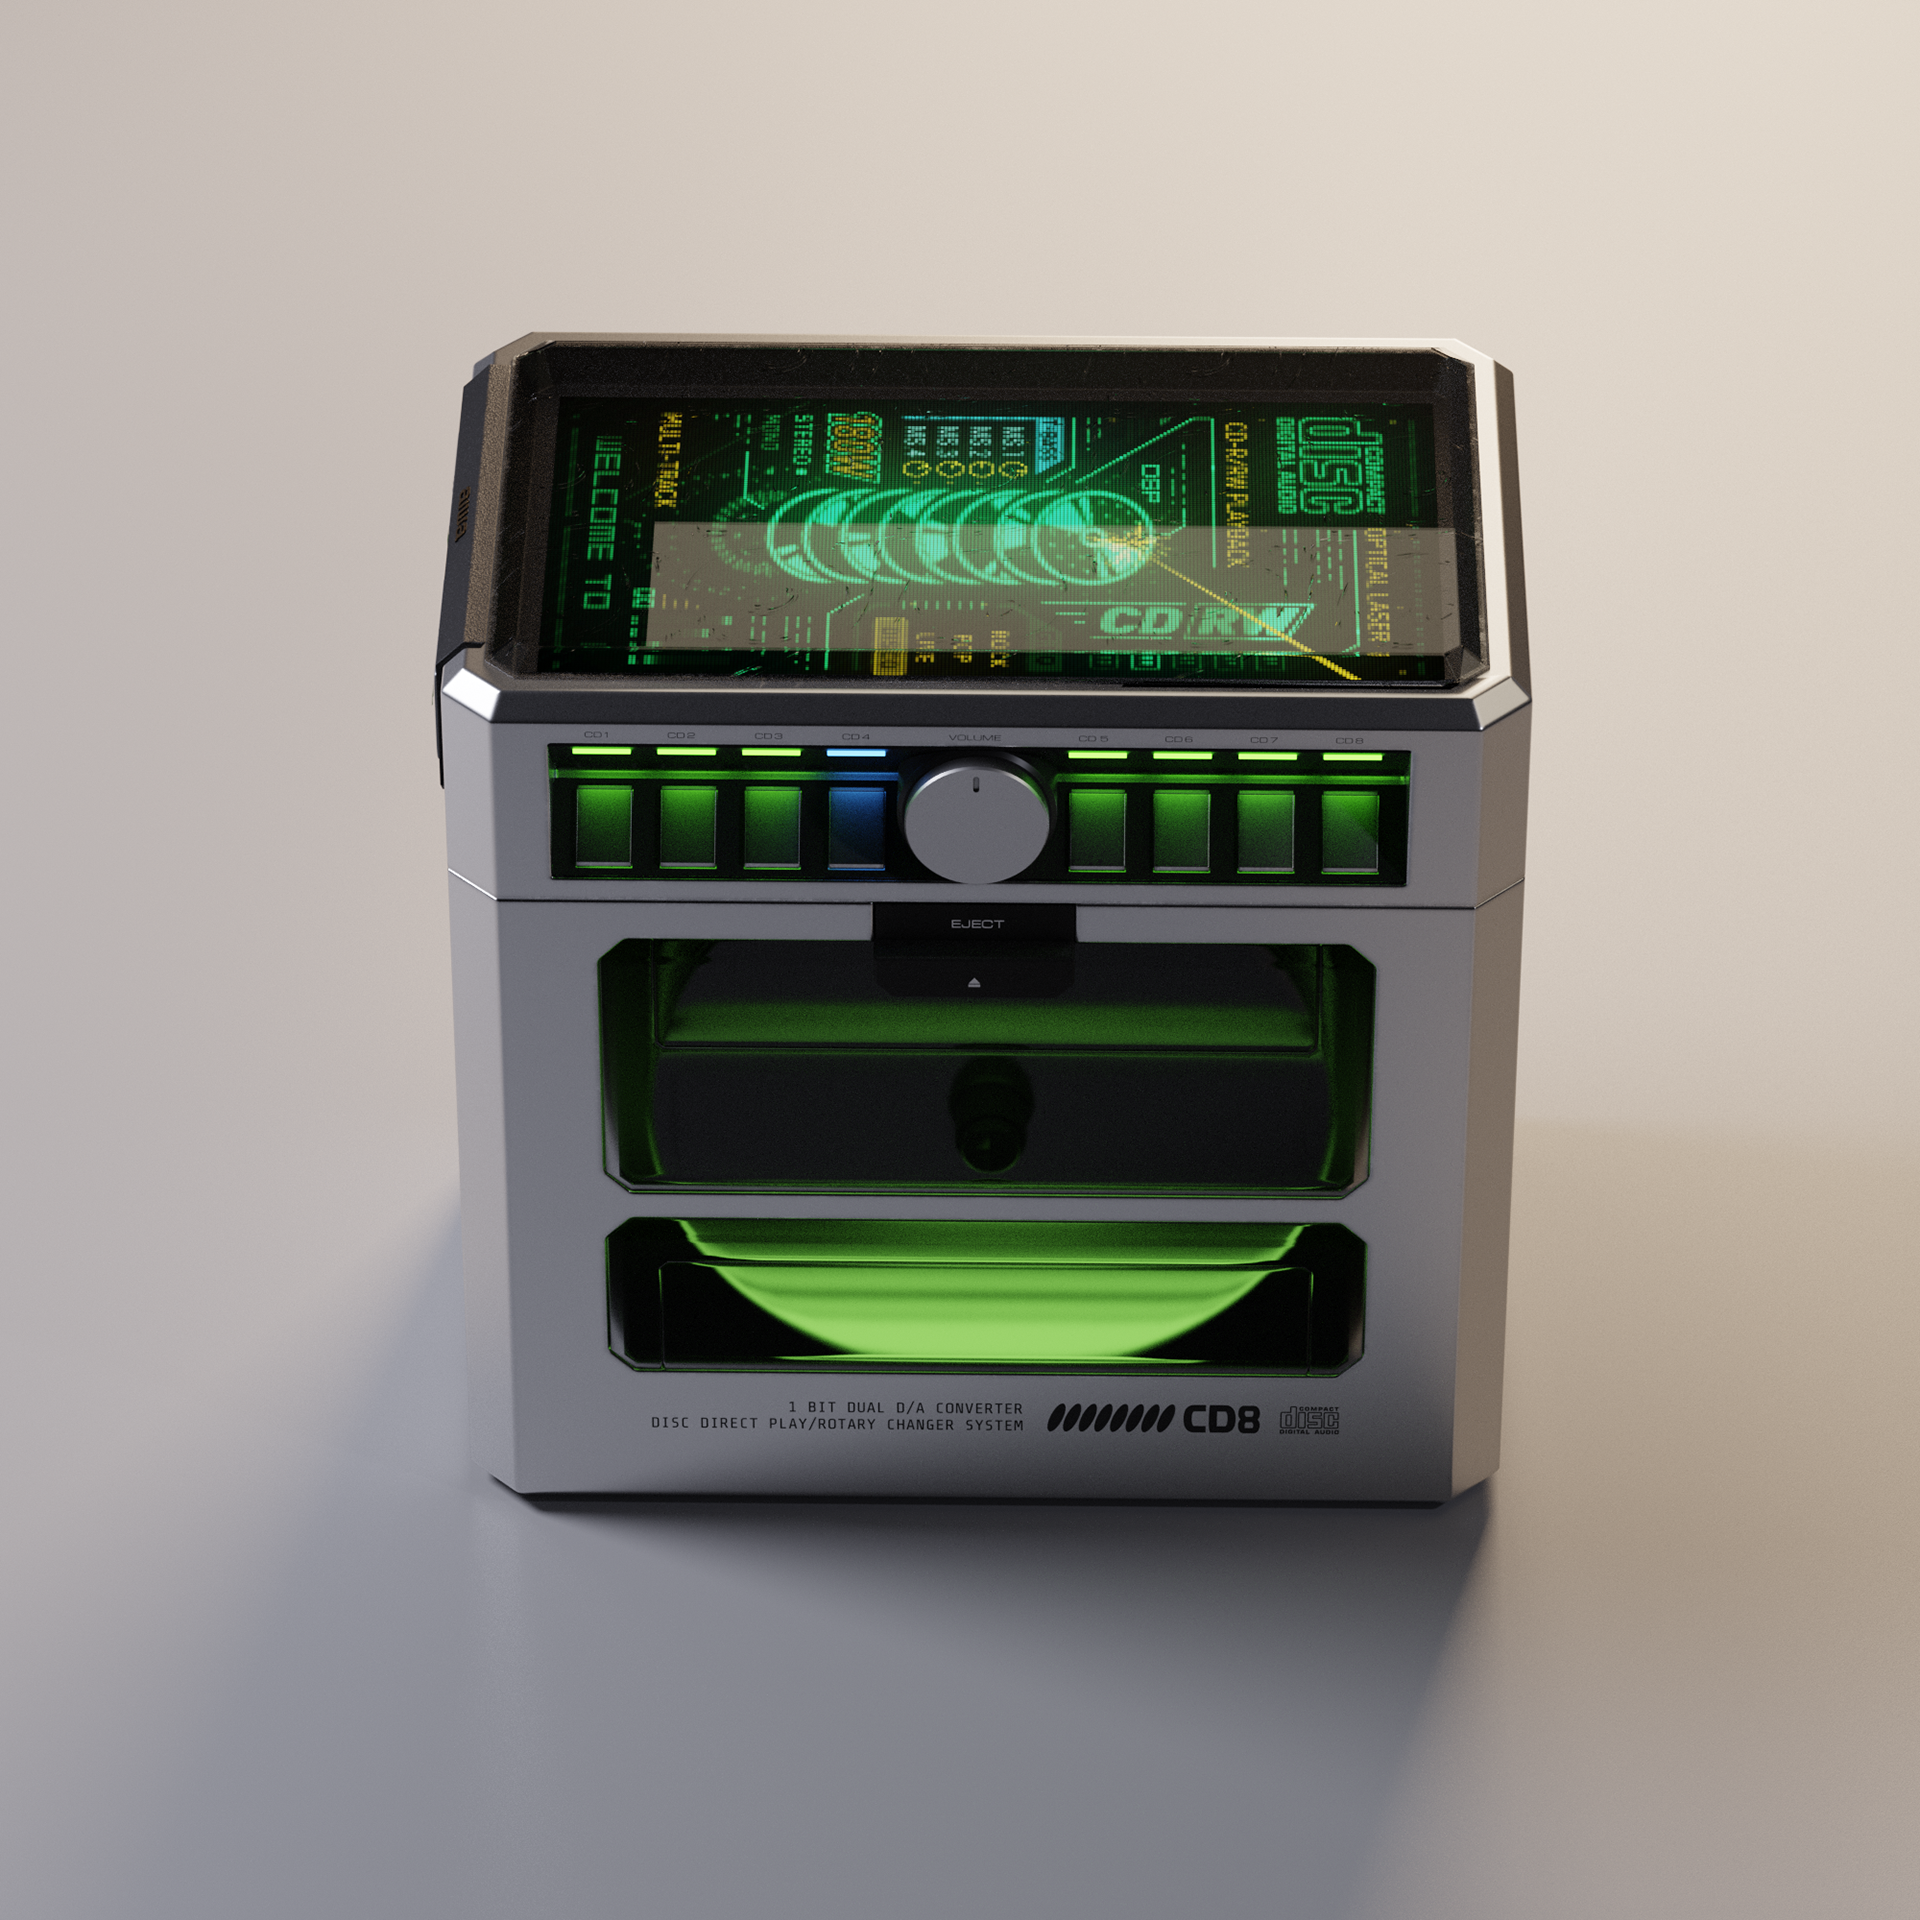
Some of them really went all out with the flashiness of their animation. I always thought those were really cool. So, I decided to make one myself!
PROCESS BREAKDOWN: PIXEL GRID SCREEN
-
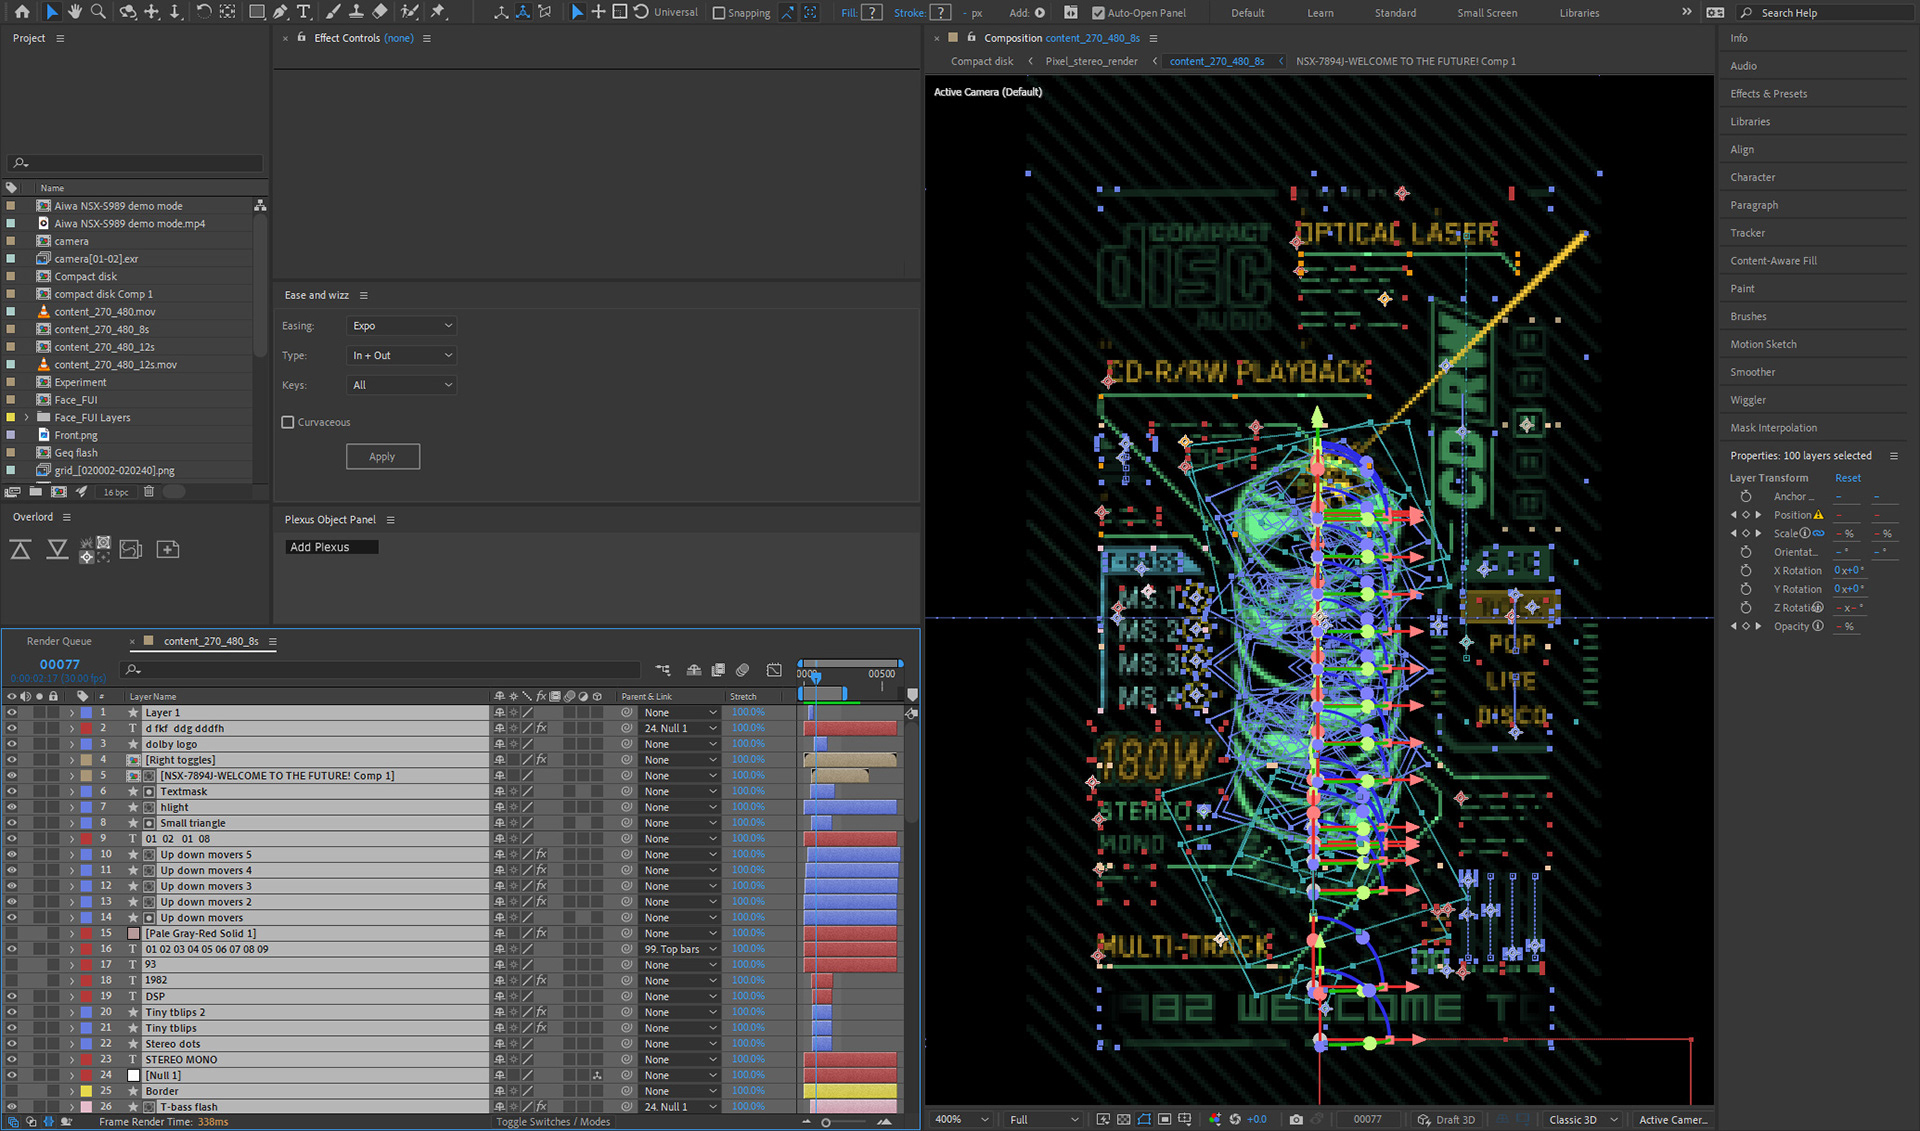
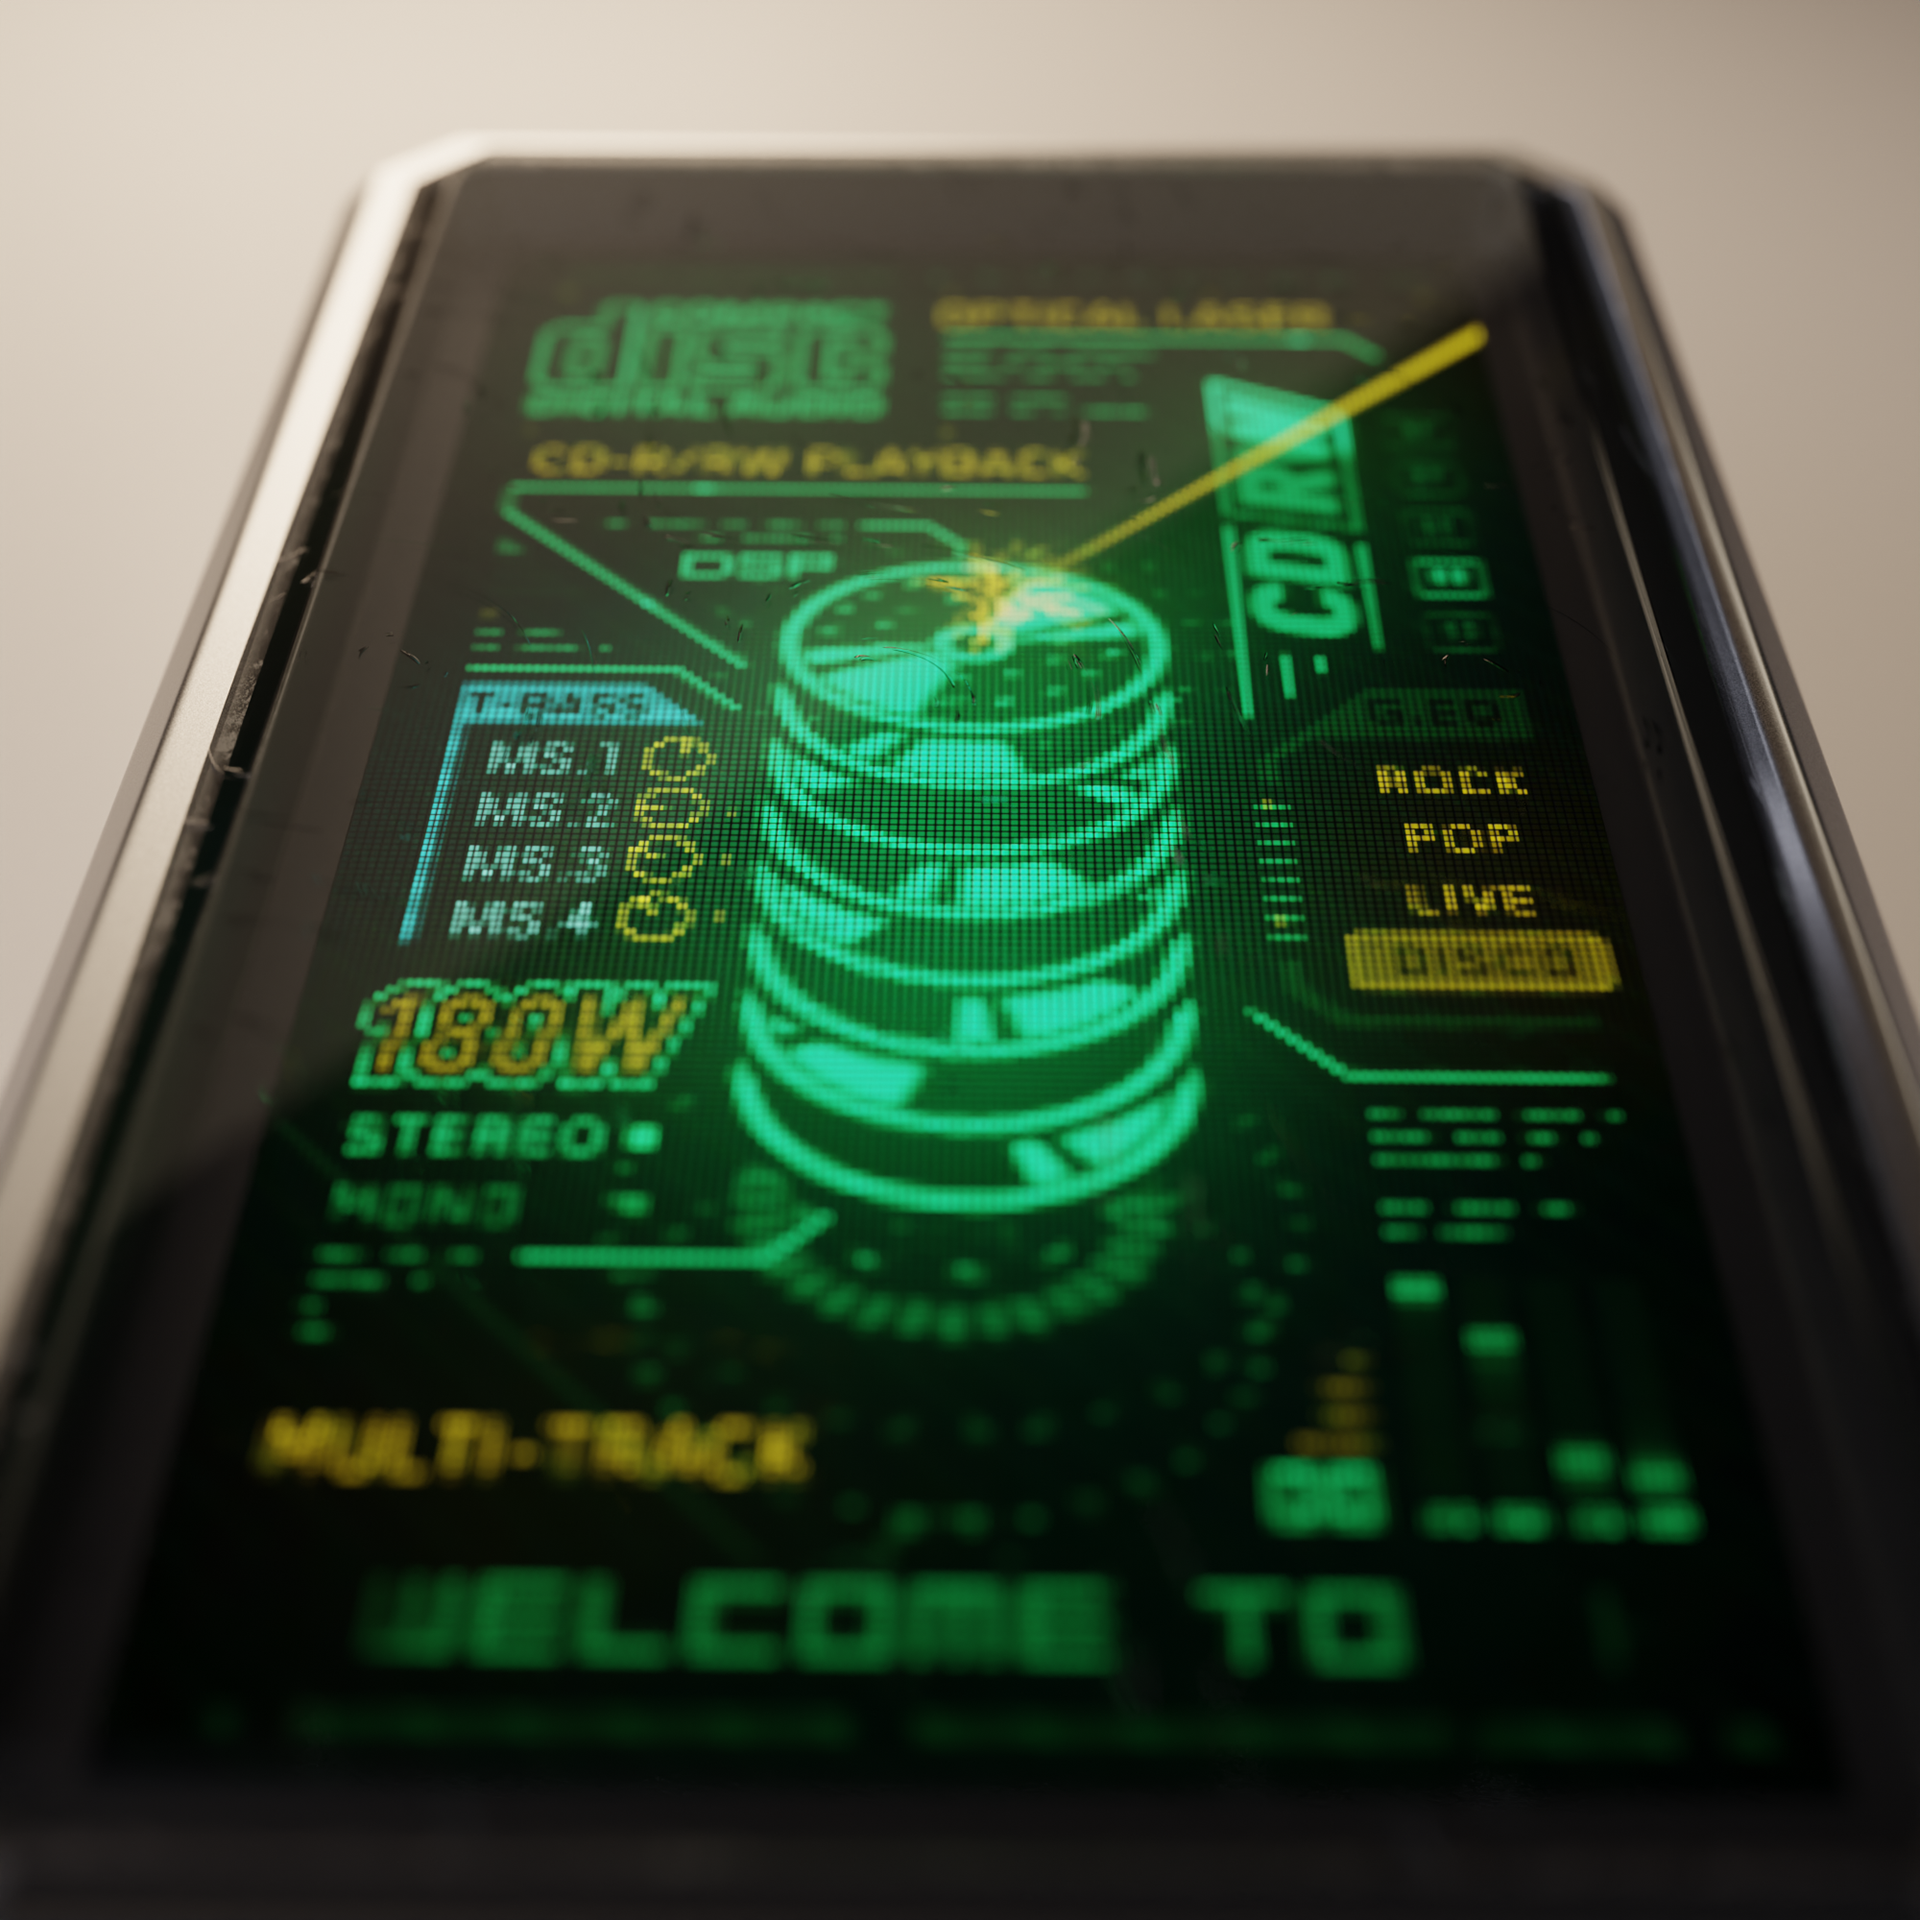
First thing was to design the main screen animation. I needed to come up with a way to get the correct look, where each pixel is separated. I also wanted to use vectors for animation rather than raster based pixel art.
After Effects by default uses Anti-aliasing to smoothen the jagged edges of vector shapes.
AFTER EFFECTS
-
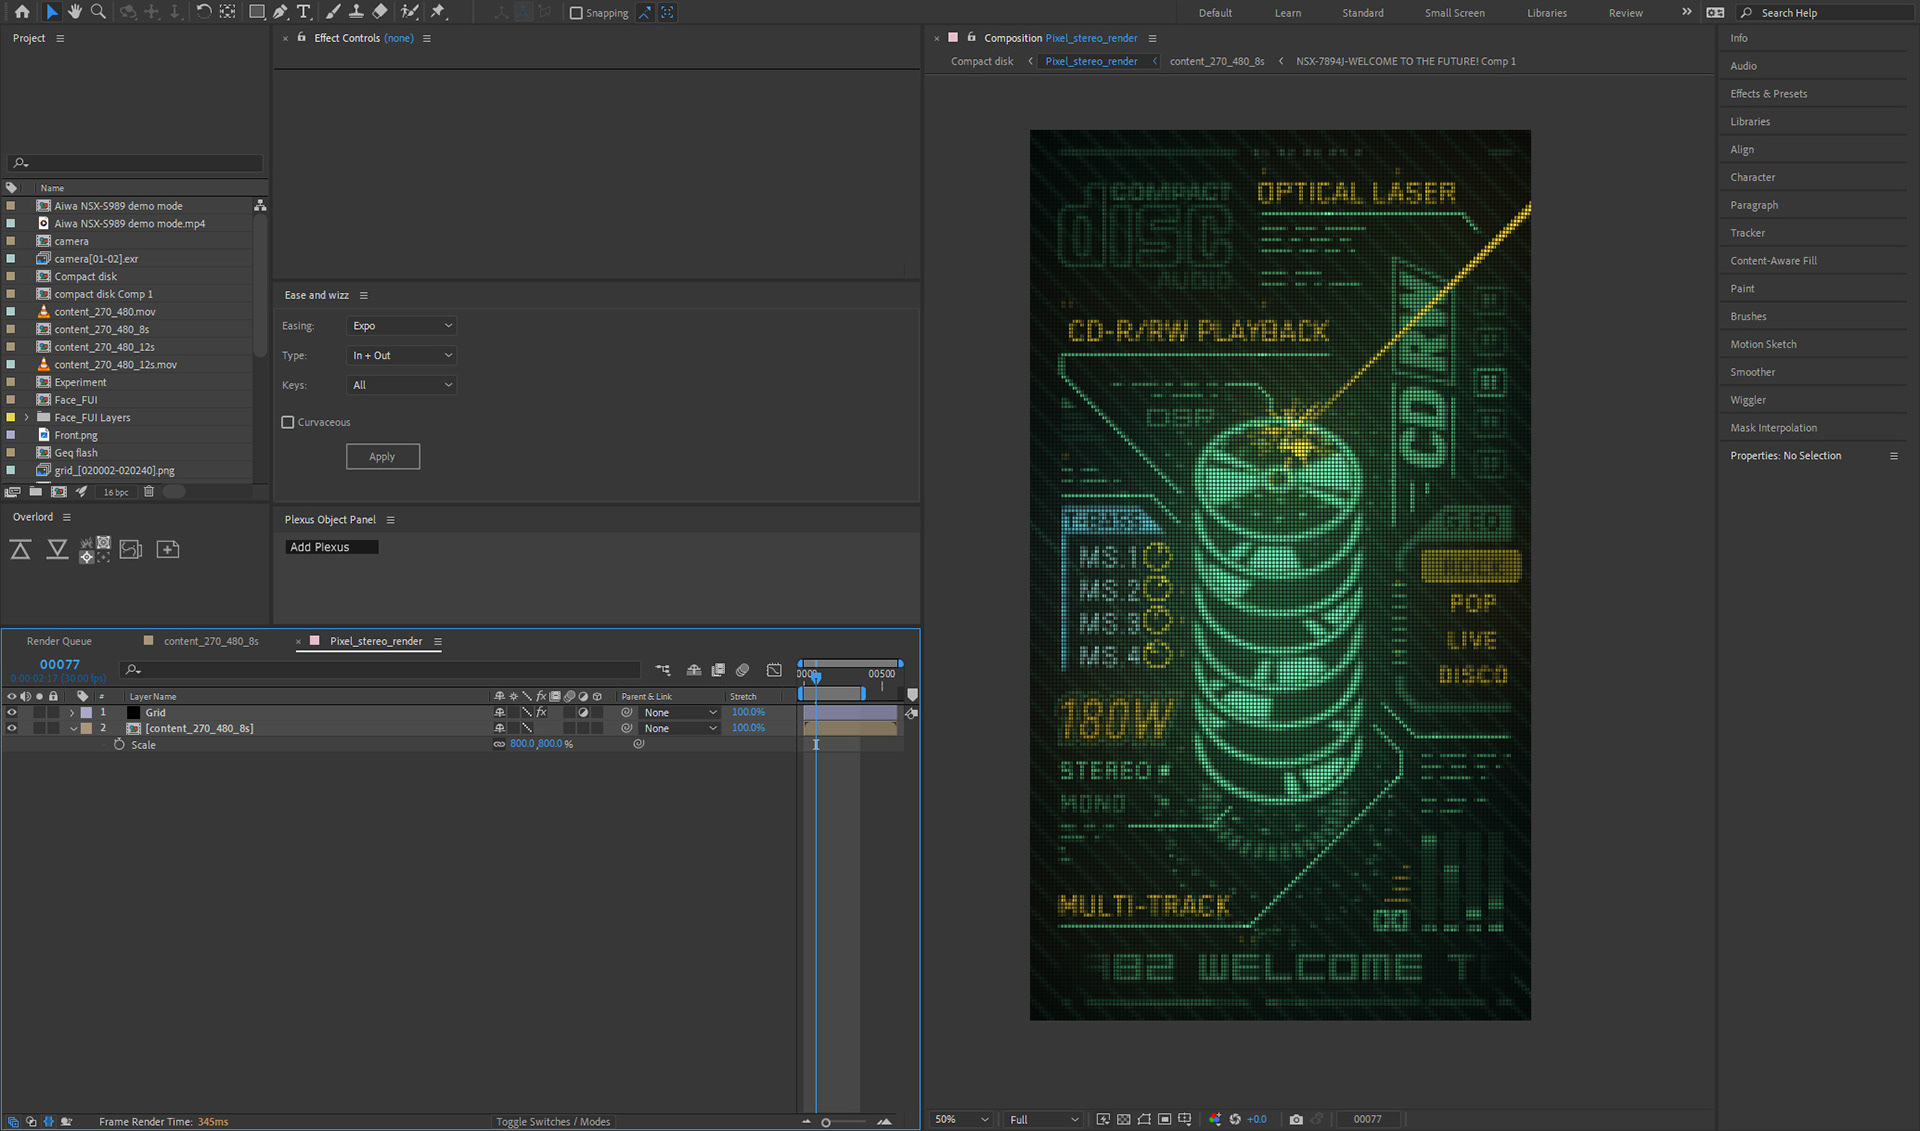
Here's the workaround I developed to get the right look:
1. Create a comp with the amount of pixels you want. preferably something small like 270x480
1. Create a comp with the amount of pixels you want. preferably something small like 270x480
2. pre-comp your small comp. scale it up to 800%, and set your external comp size to 1080x1920
3. Tick the "Quality and Sampling" checkbox in your external comp to "Draft". leave the internal comp vectors on "full quality" **
4. Create an adjustment layer with a grid effect on top, and adjust size and width until each pixel is perfectly separated
4. Create an adjustment layer with a grid effect on top, and adjust size and width until each pixel is perfectly separated
Now you can use shape layers and animators and get nice semi-smooth pixel separation!
**AE is a little buggy sometimes and will switch Anti-Aliasing back on. in this case simply tick your external comp's quality back to "full" and your internal comp's layers to "draft"
**AE is a little buggy sometimes and will switch Anti-Aliasing back on. in this case simply tick your external comp's quality back to "full" and your internal comp's layers to "draft"

REFERENCE
-
I wanted this animation to live somewhere, not just as a flat loop but in an actual device.
I’ve only recently started dipping my toes into 3D modeling, so this is one of my very first 3D models.
I’m no authority on blender, but I'll break down my process if it's of any help to you.
First I pulled some references of systems from the appropriate time period.
My favorite of this mid 90’s era were those glorious boxy AIWA systems that got more outrageous with every passing year.
3D MODELING
-
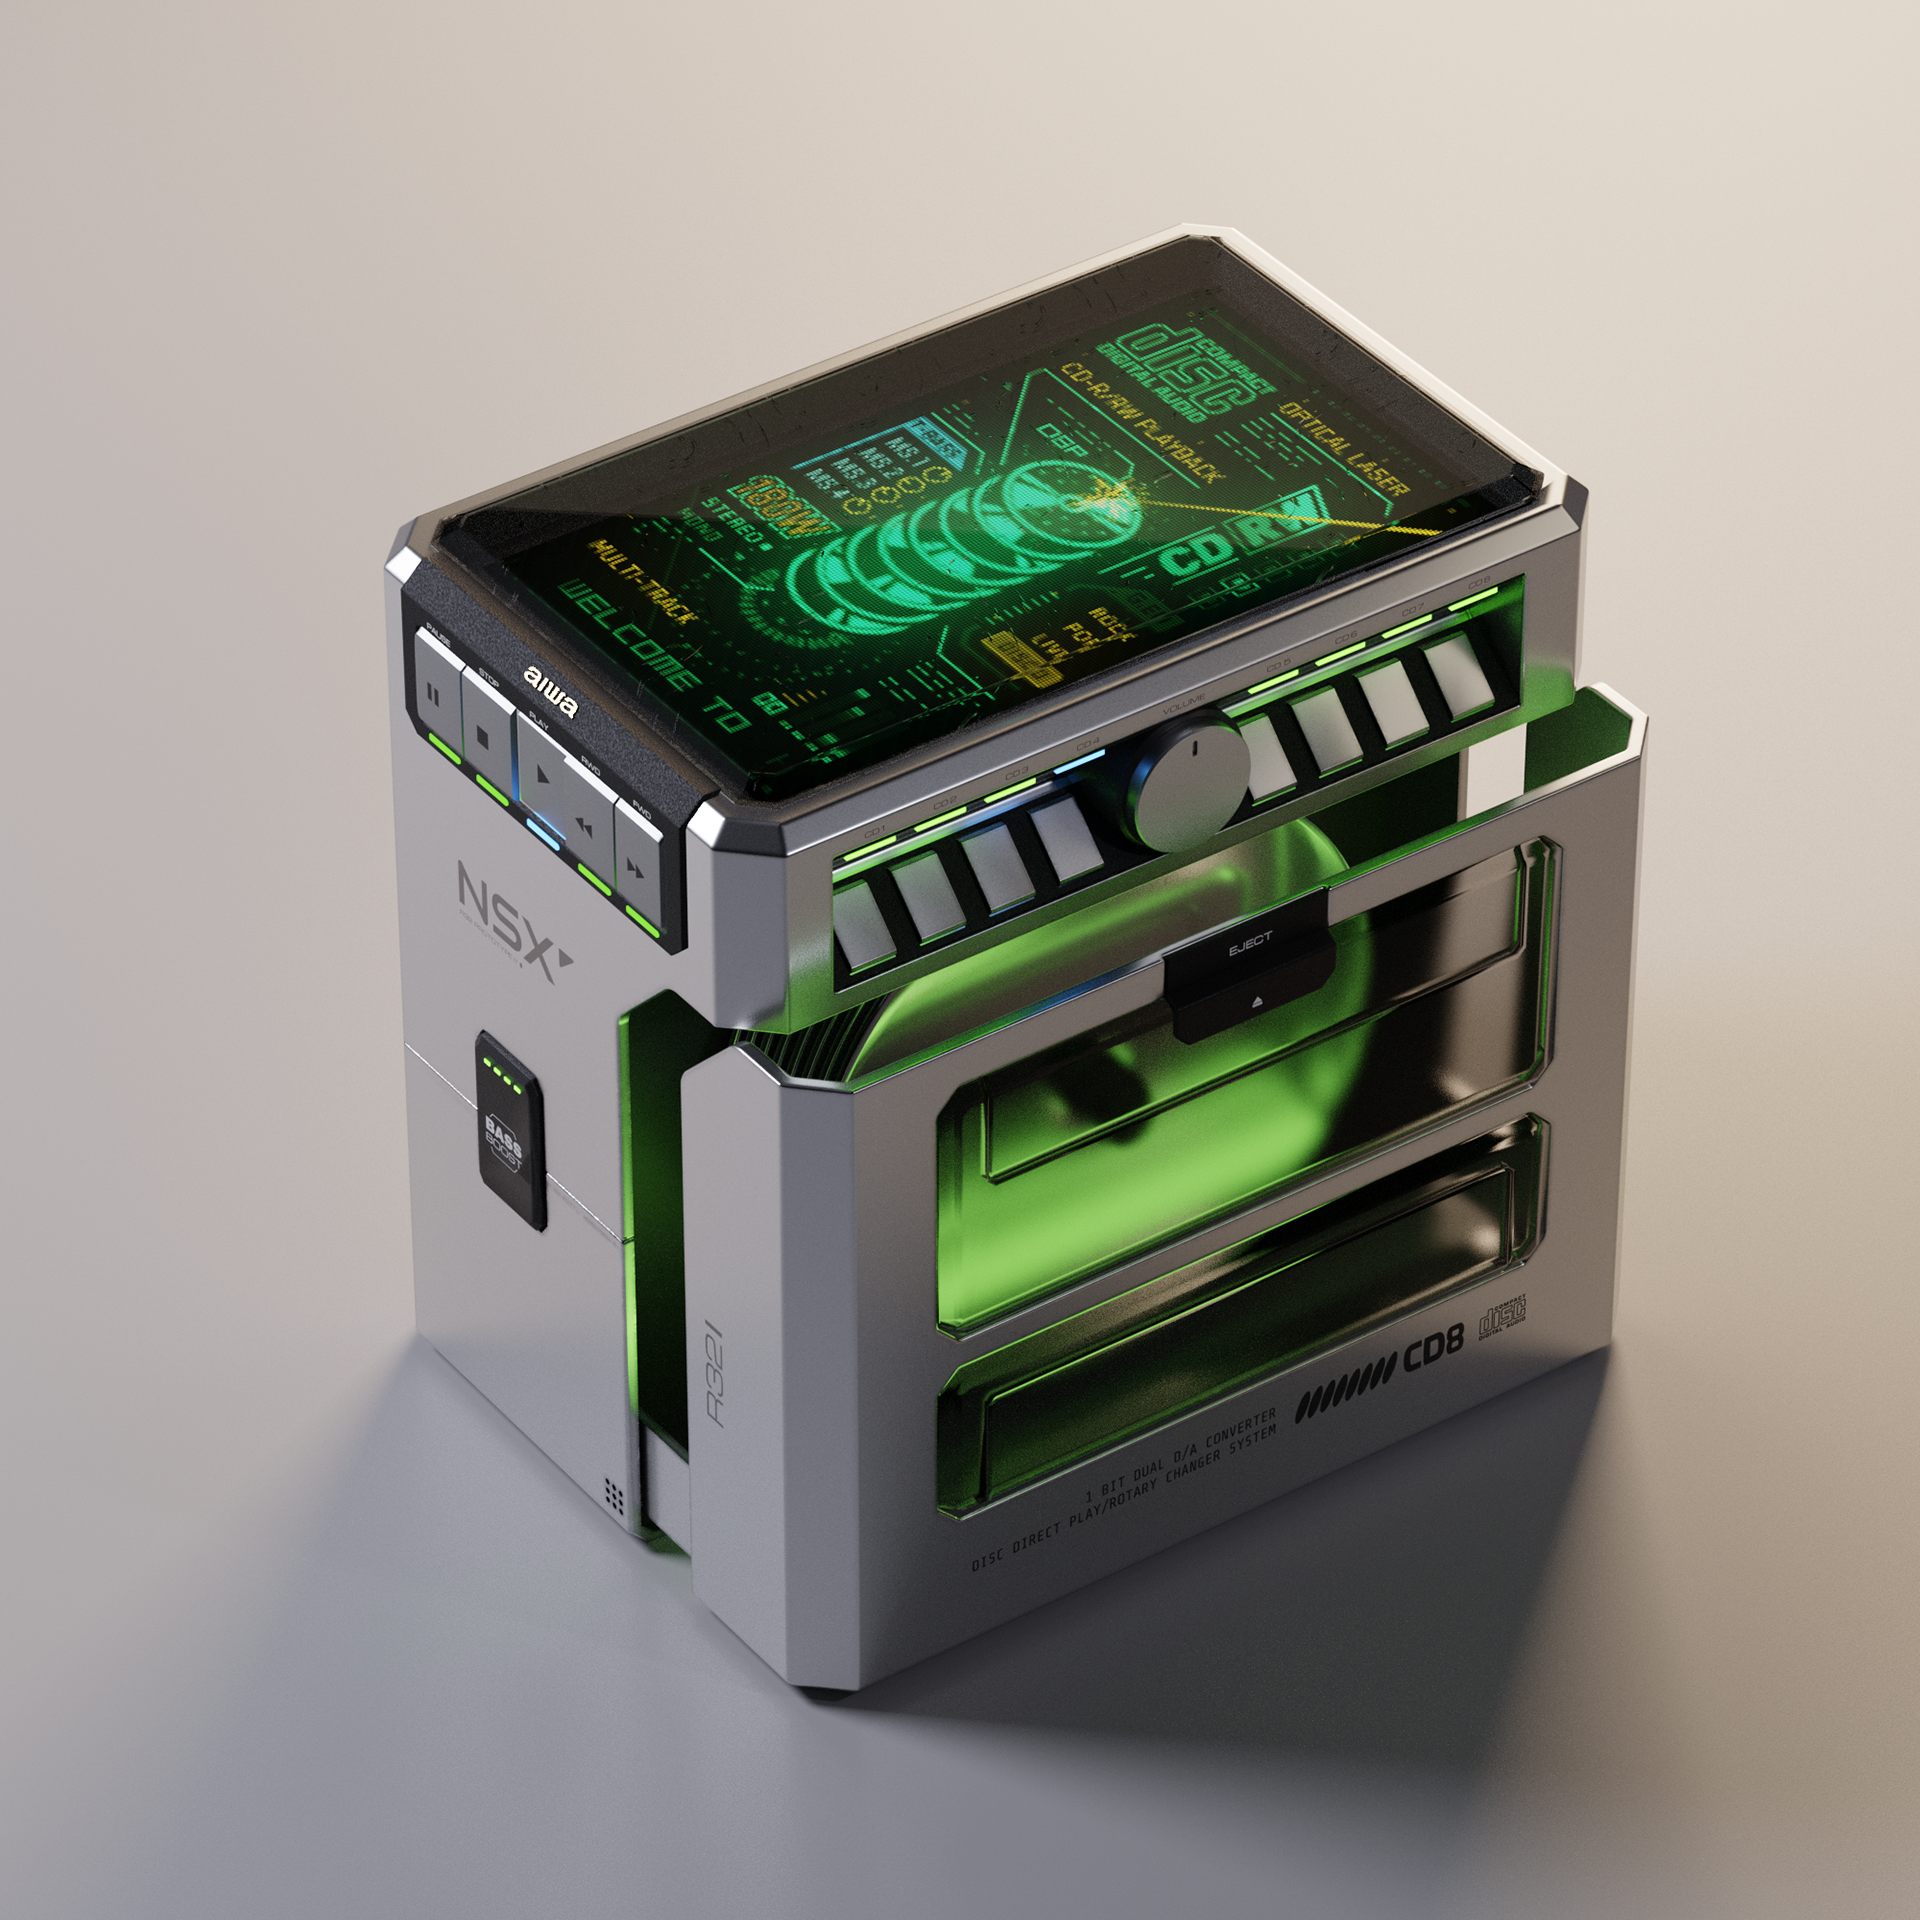
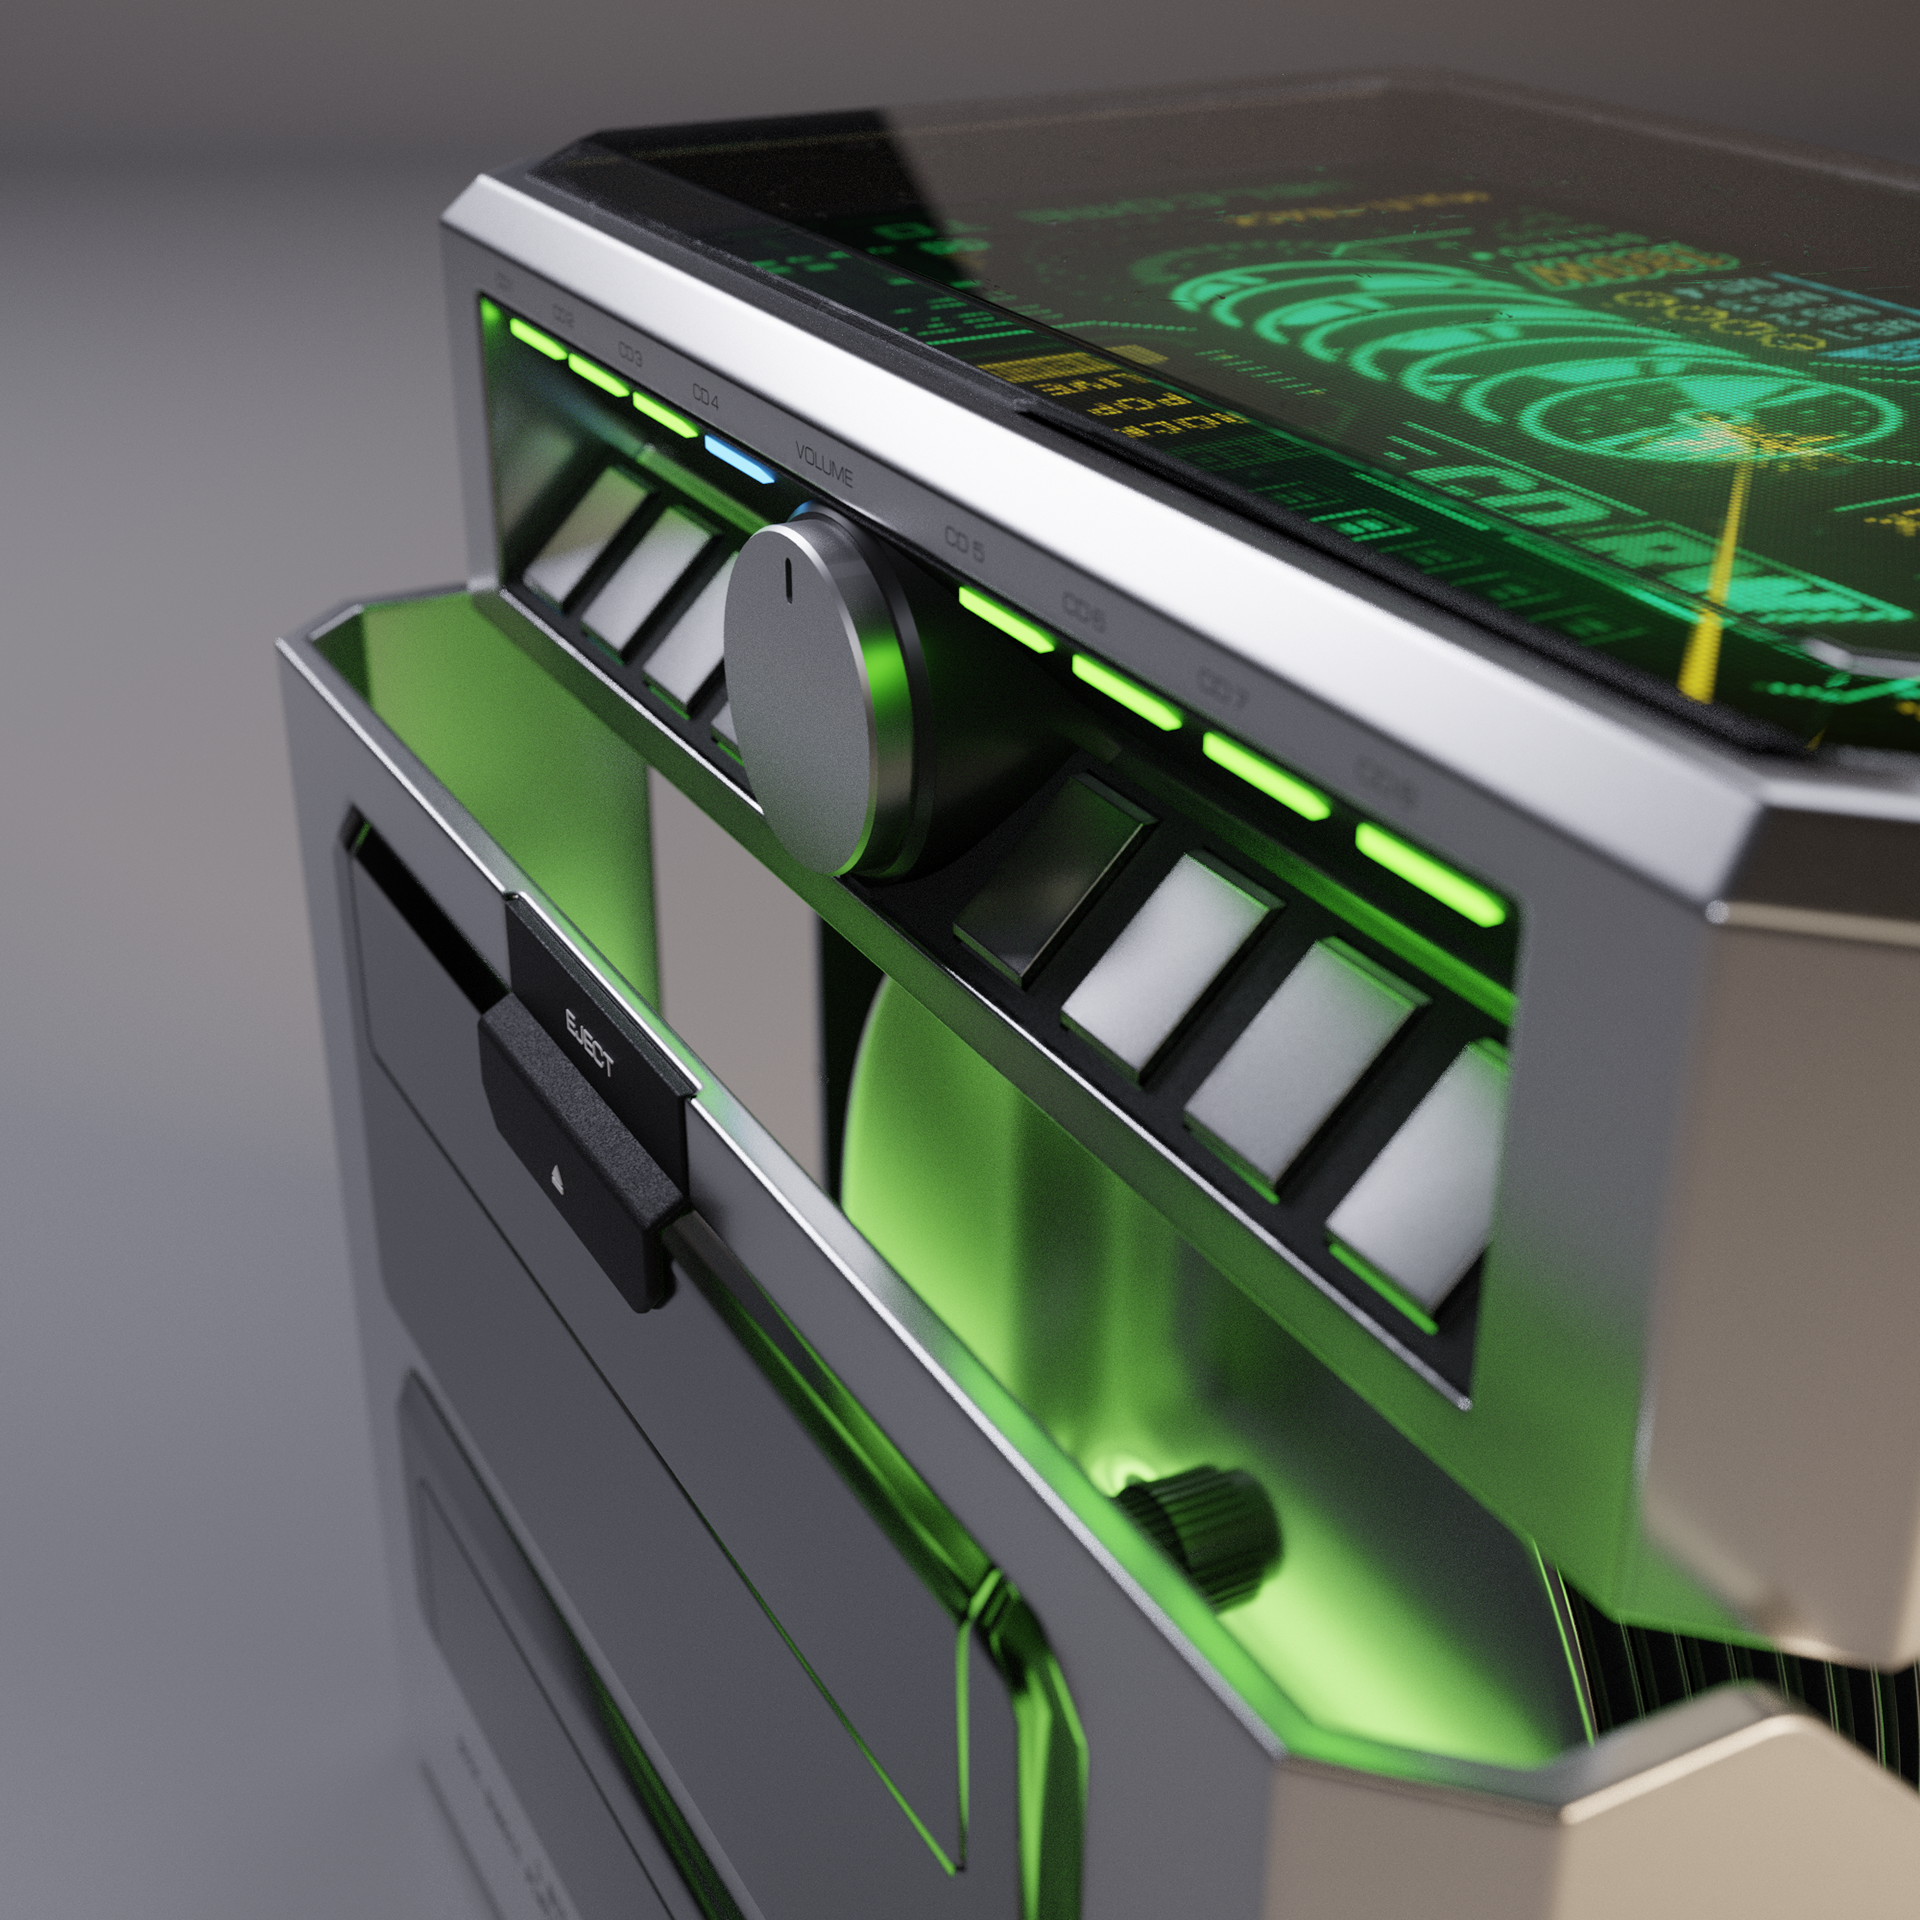
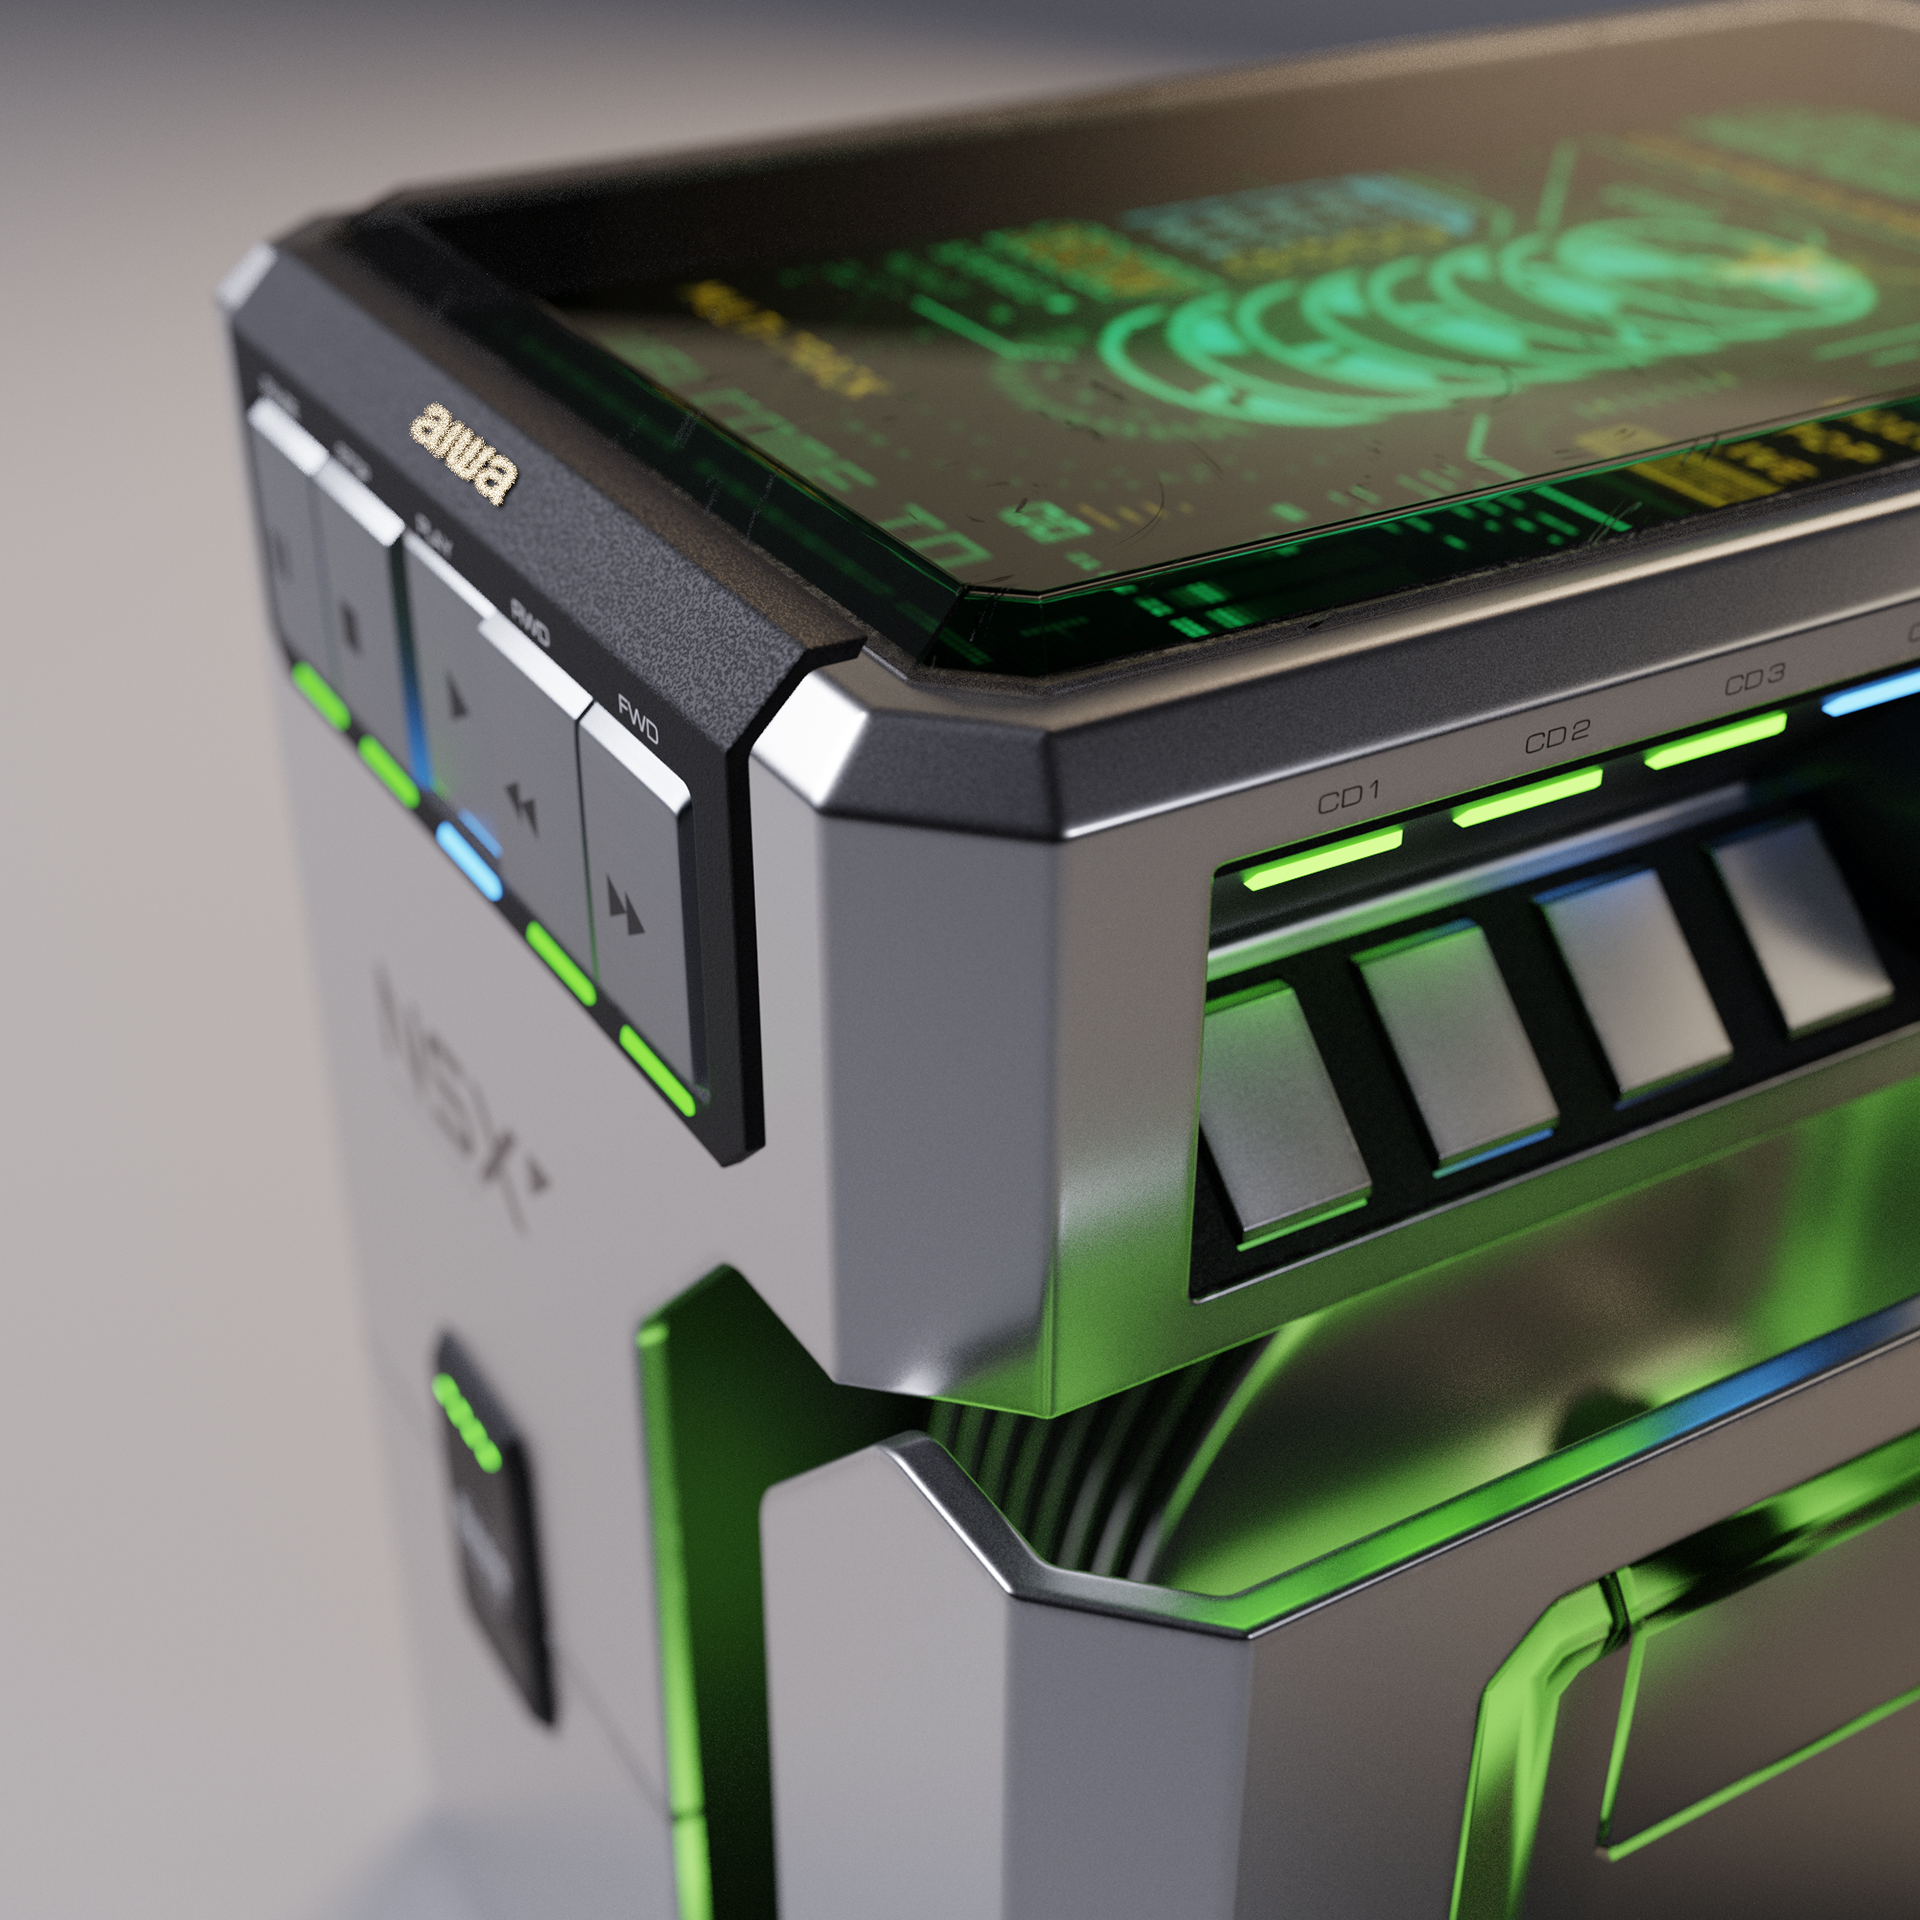
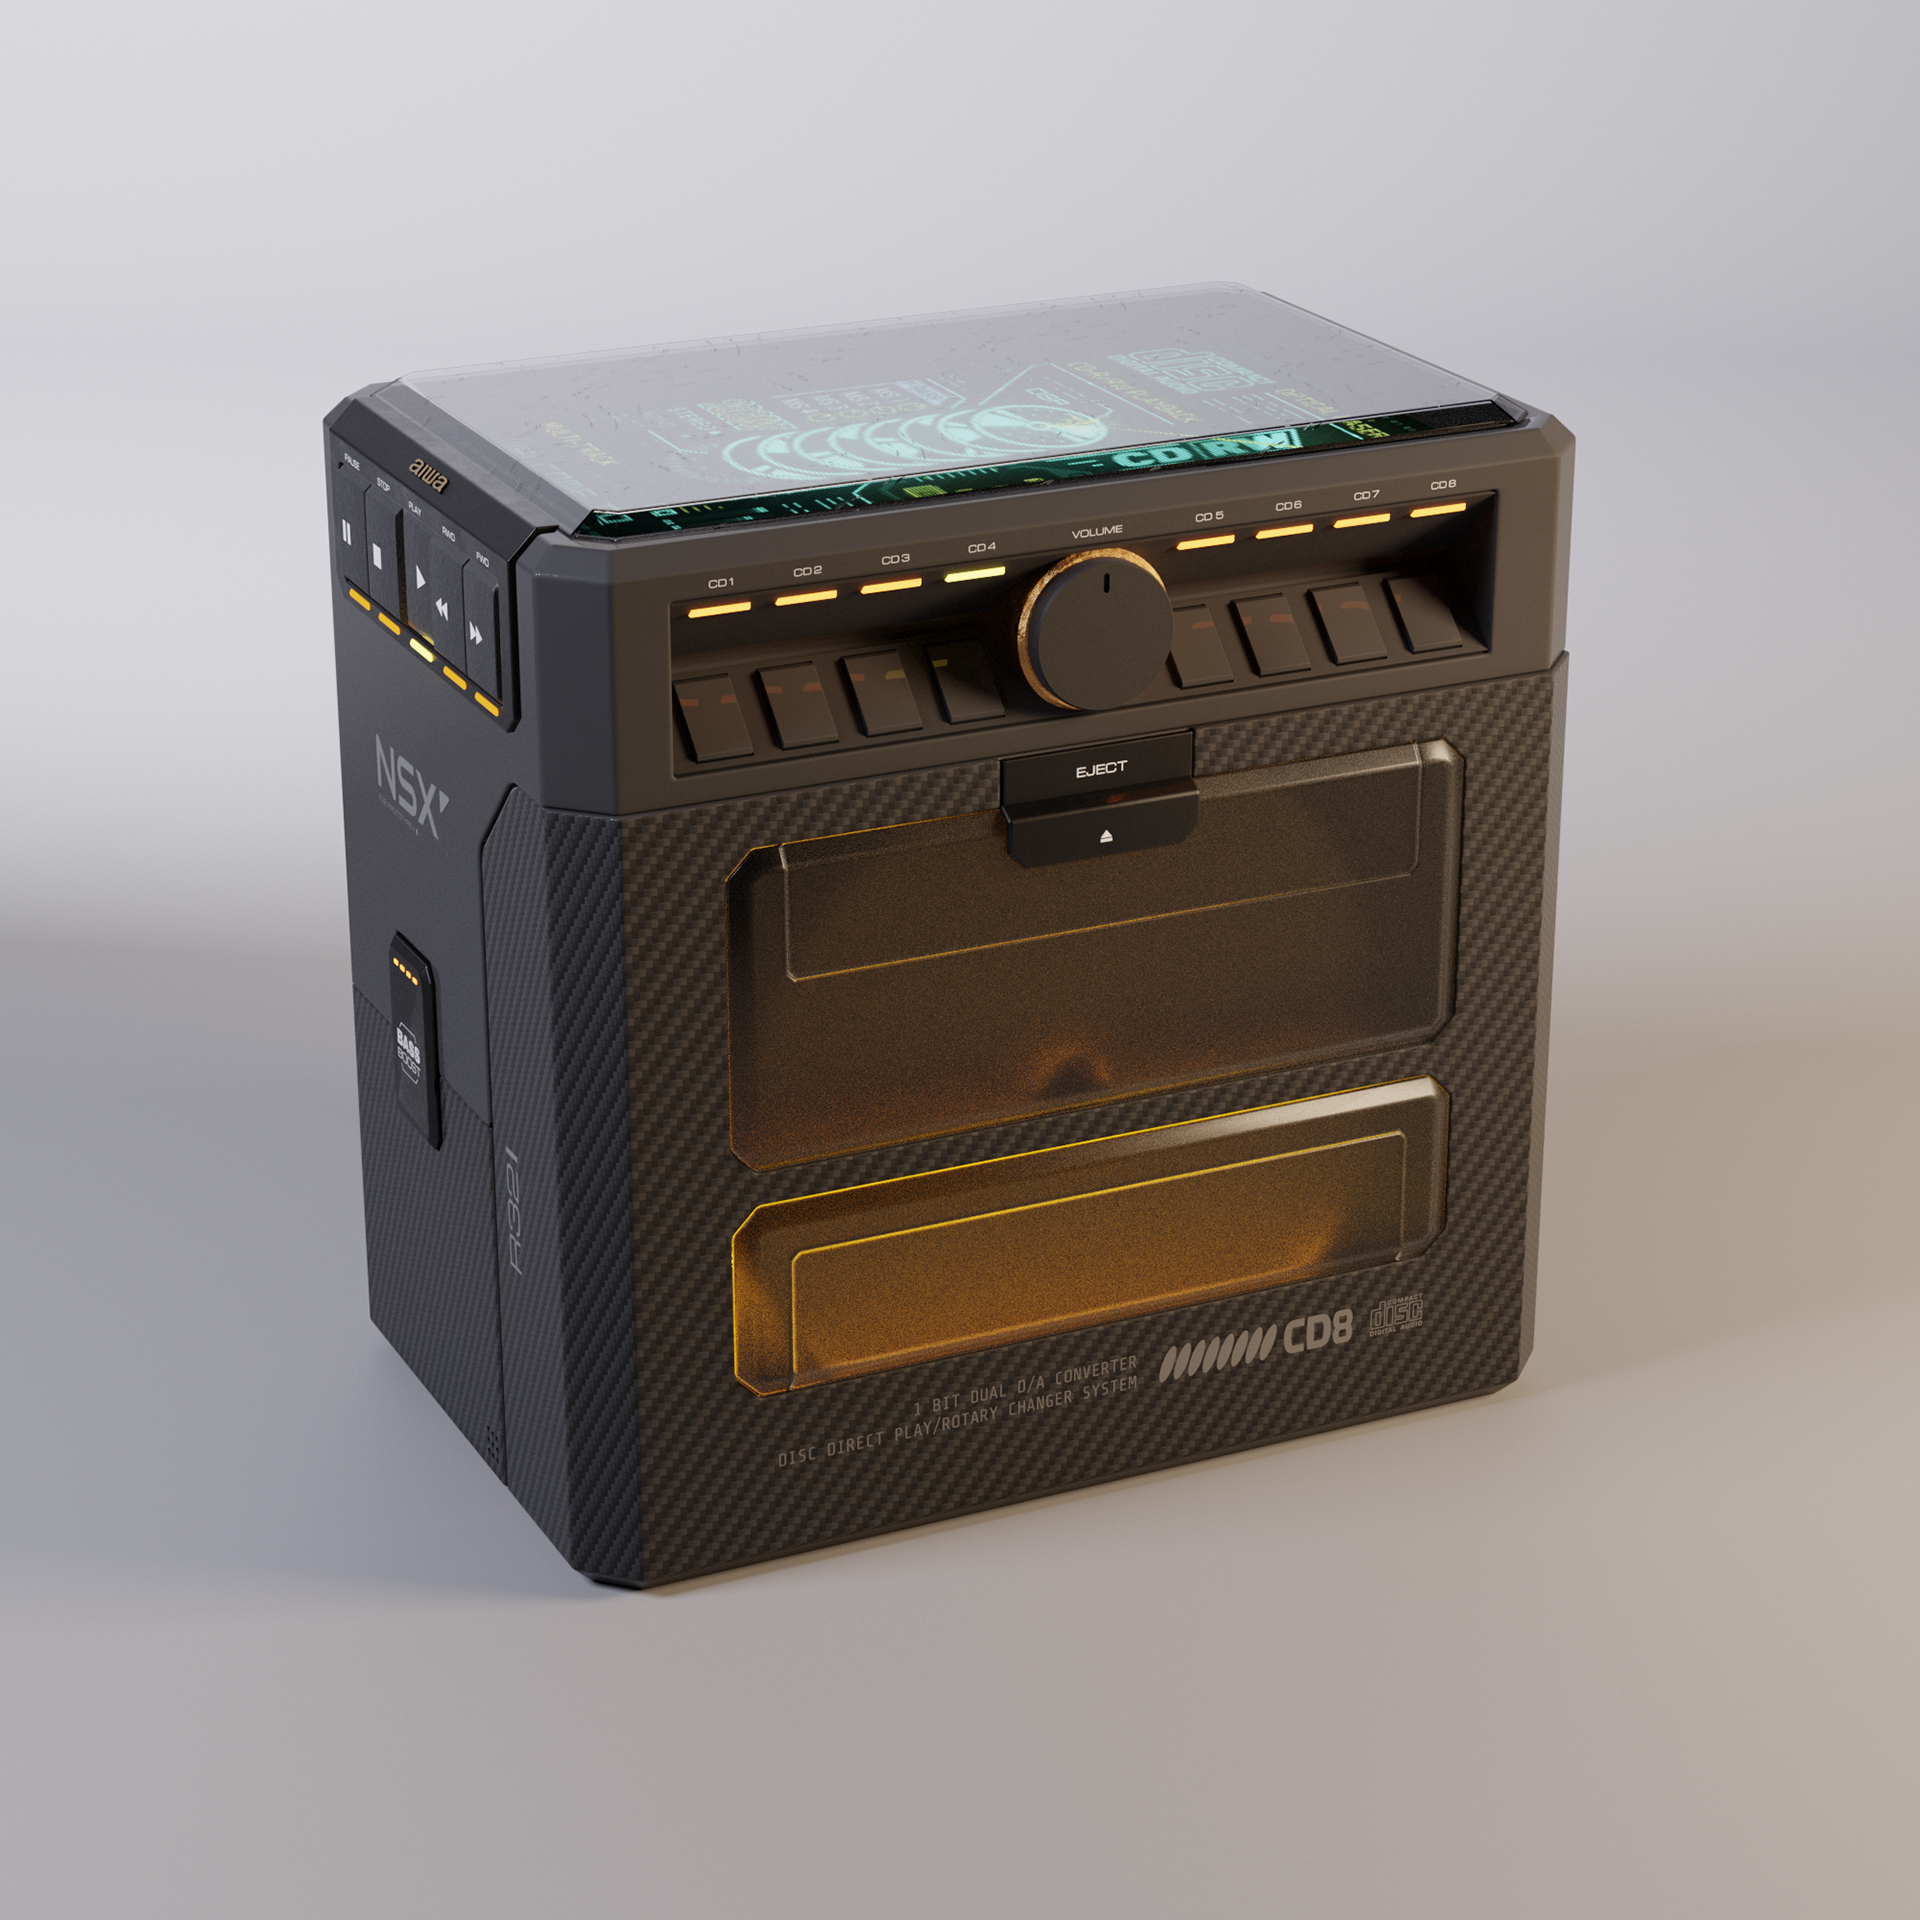
I was aiming to make something minimal, period correct, elegant, with the screen as the centerpiece.
I also wanted something easy to model with my novice skills.
I also wanted something easy to model with my novice skills.
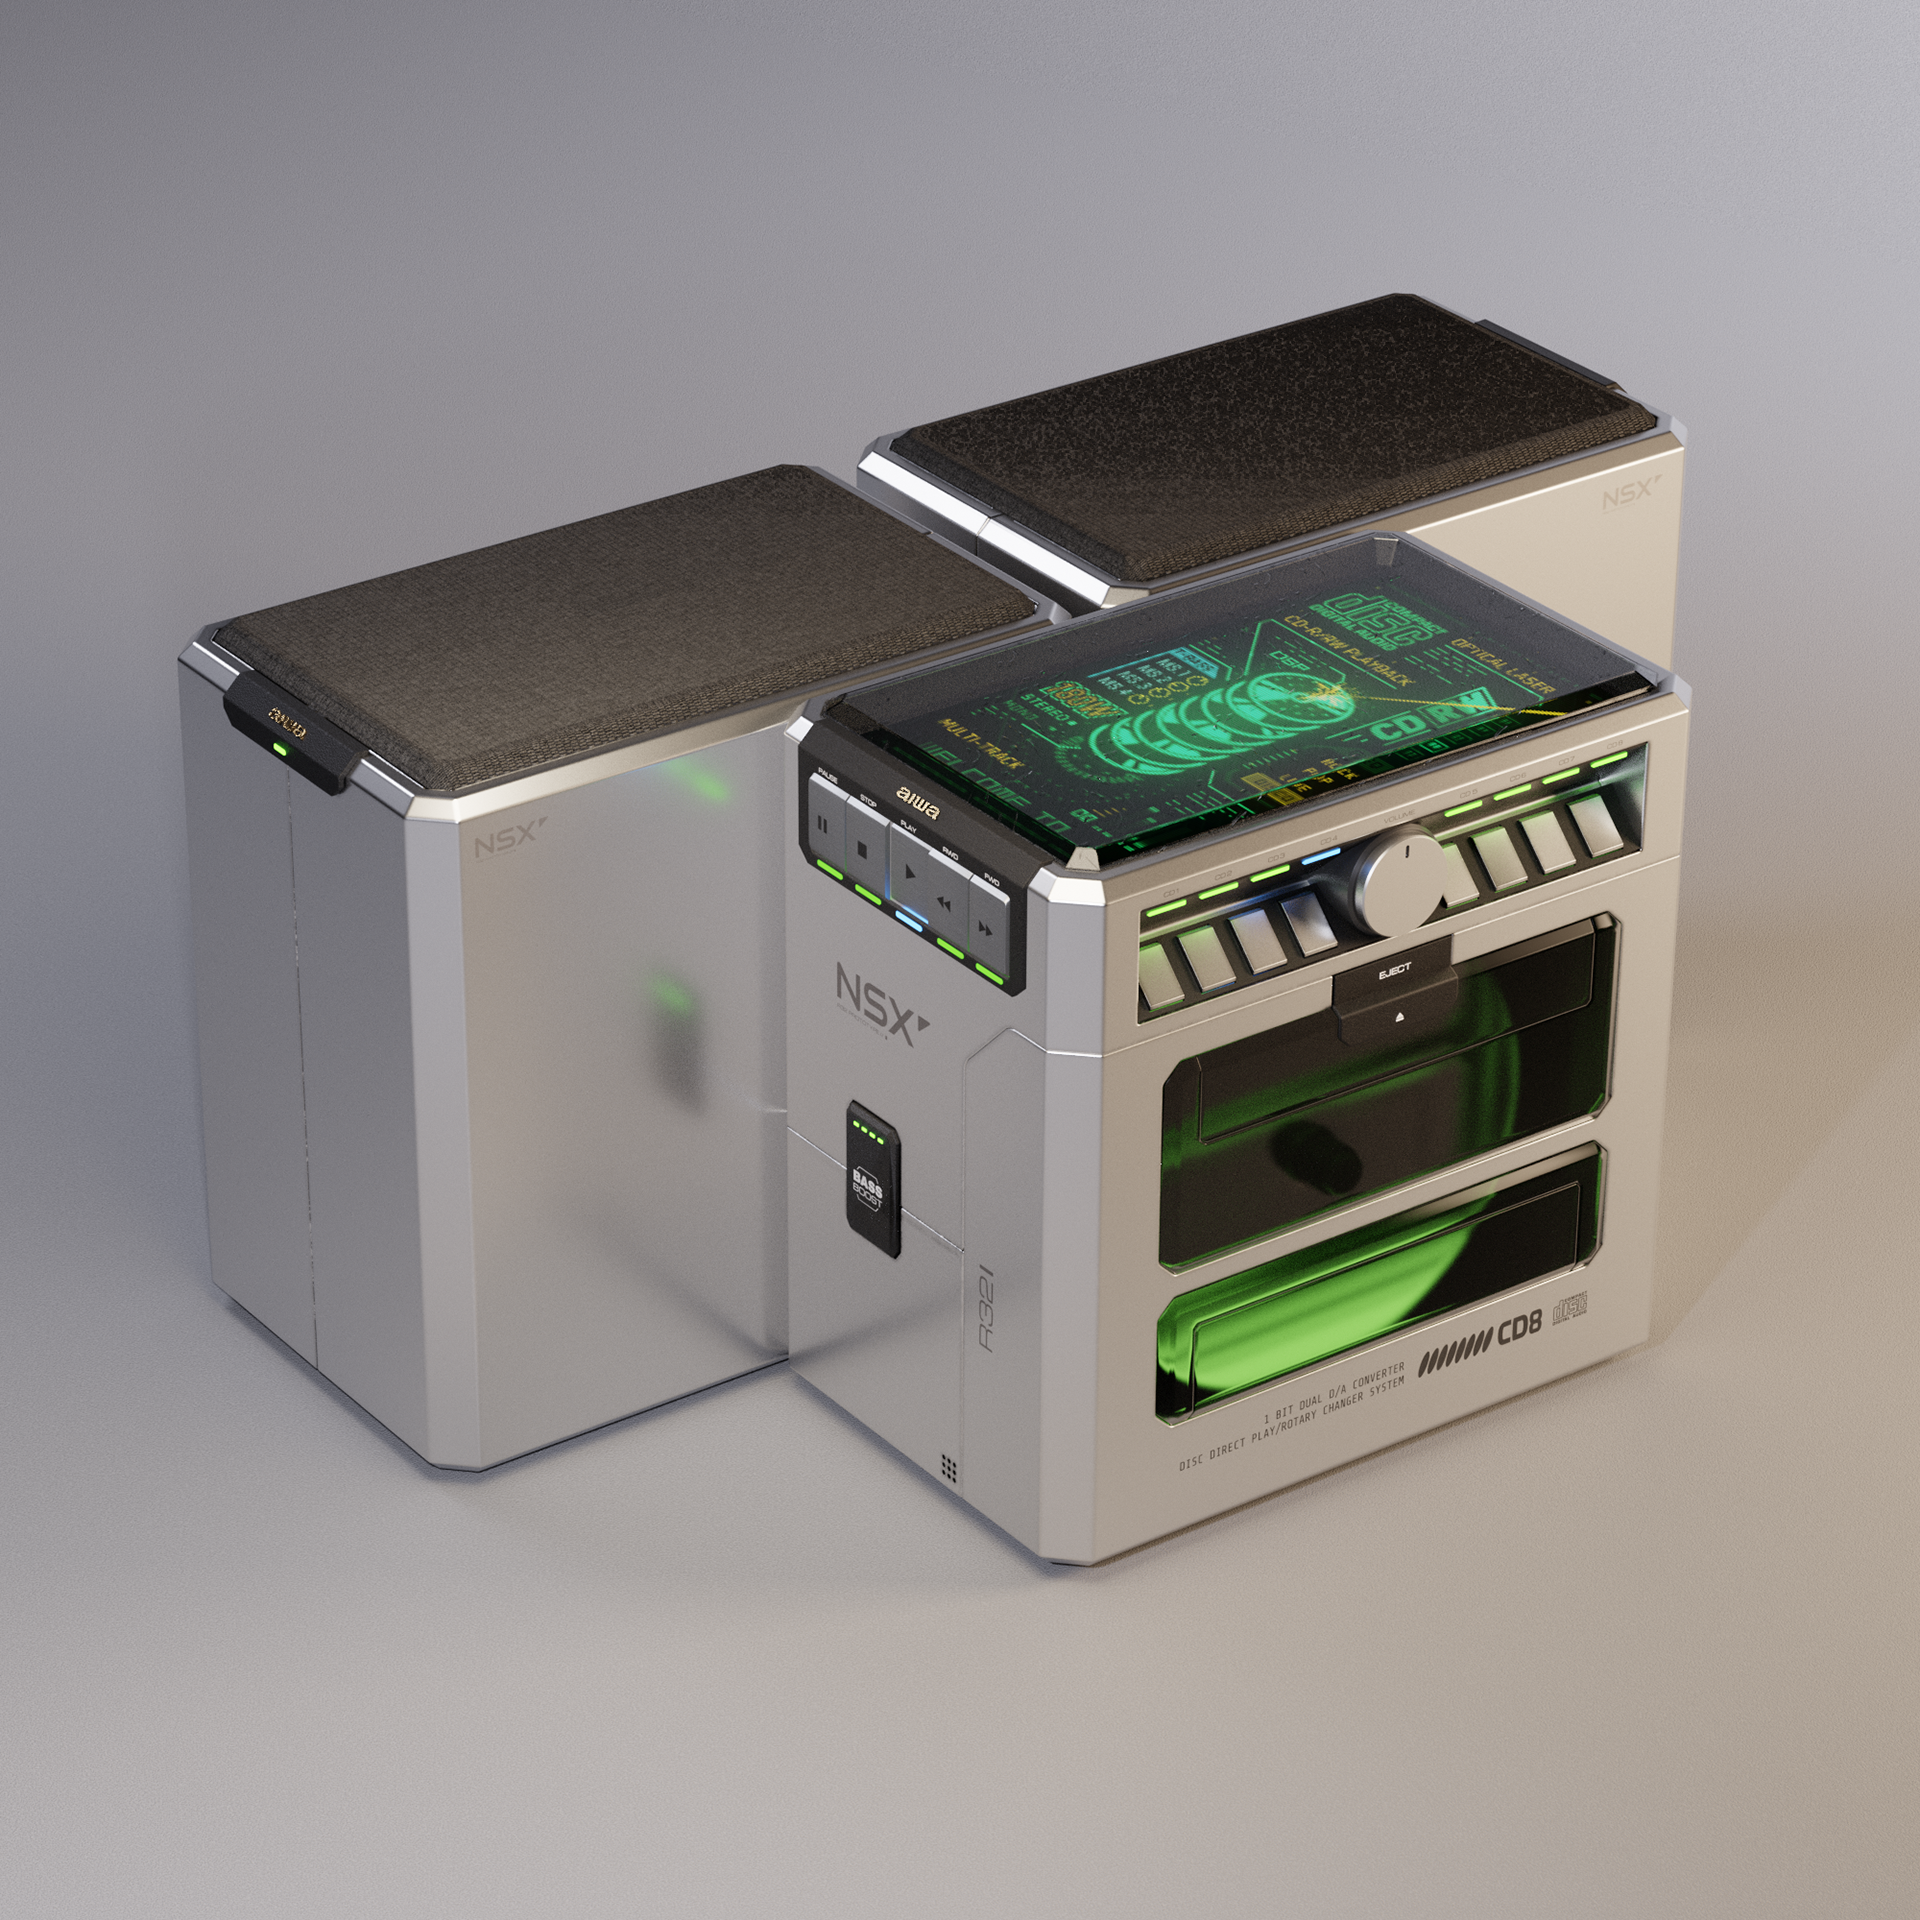
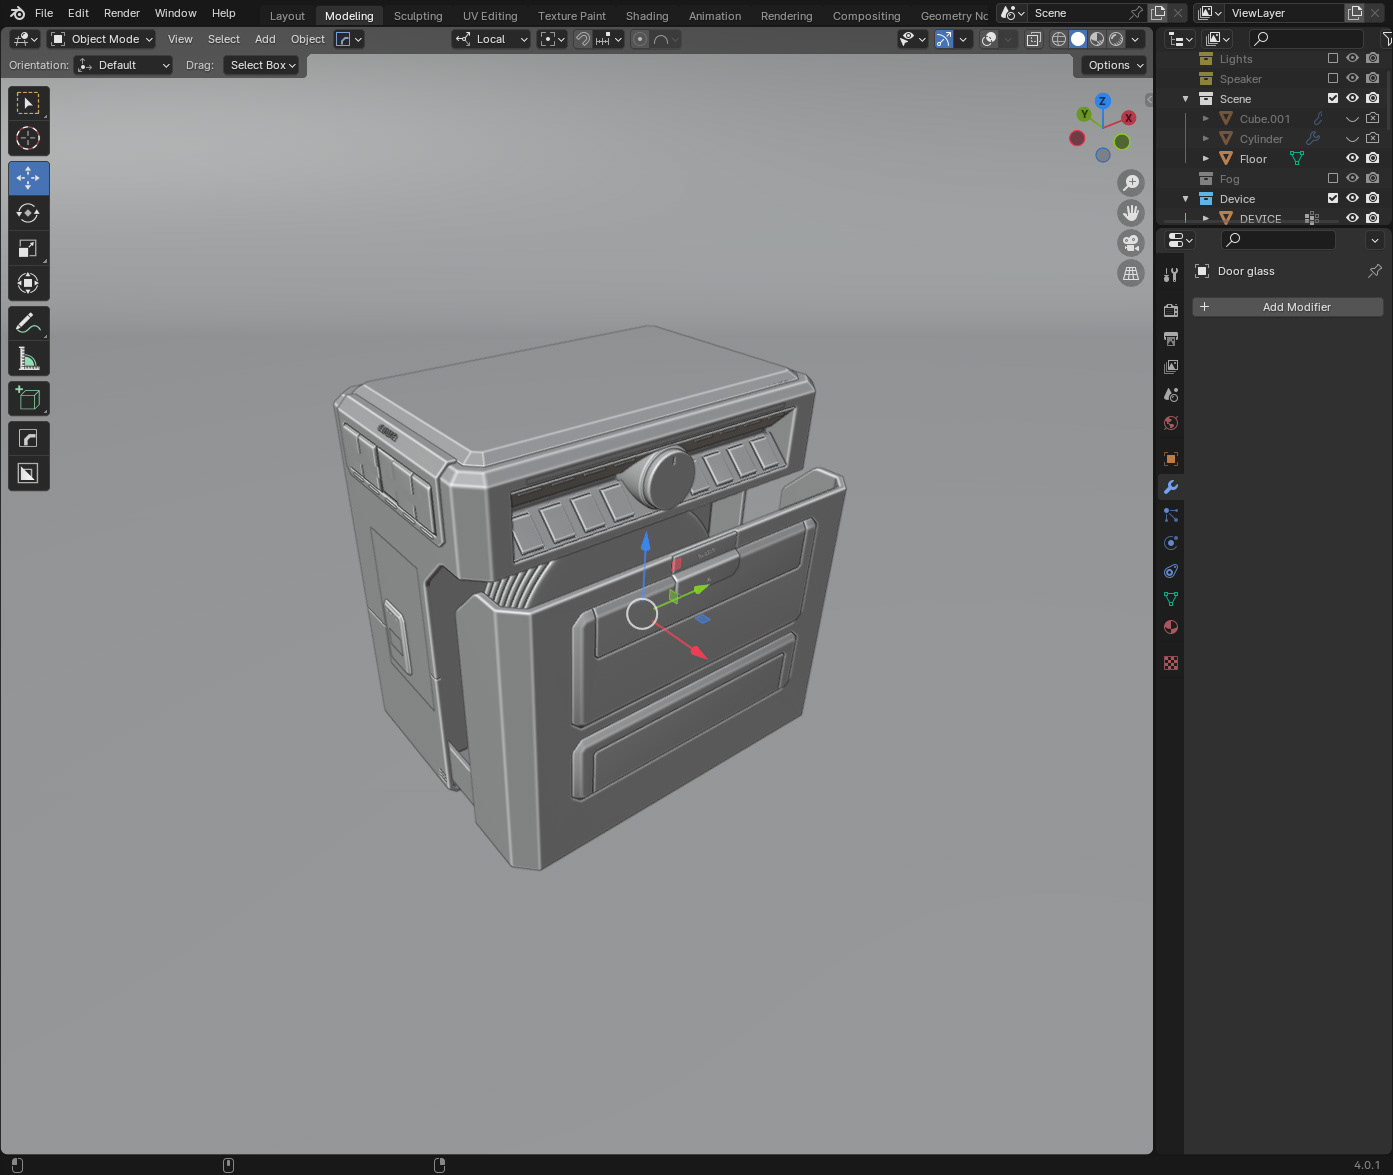
I used a blender addon called BoxCutter to carve out the shapes out of the default cube.
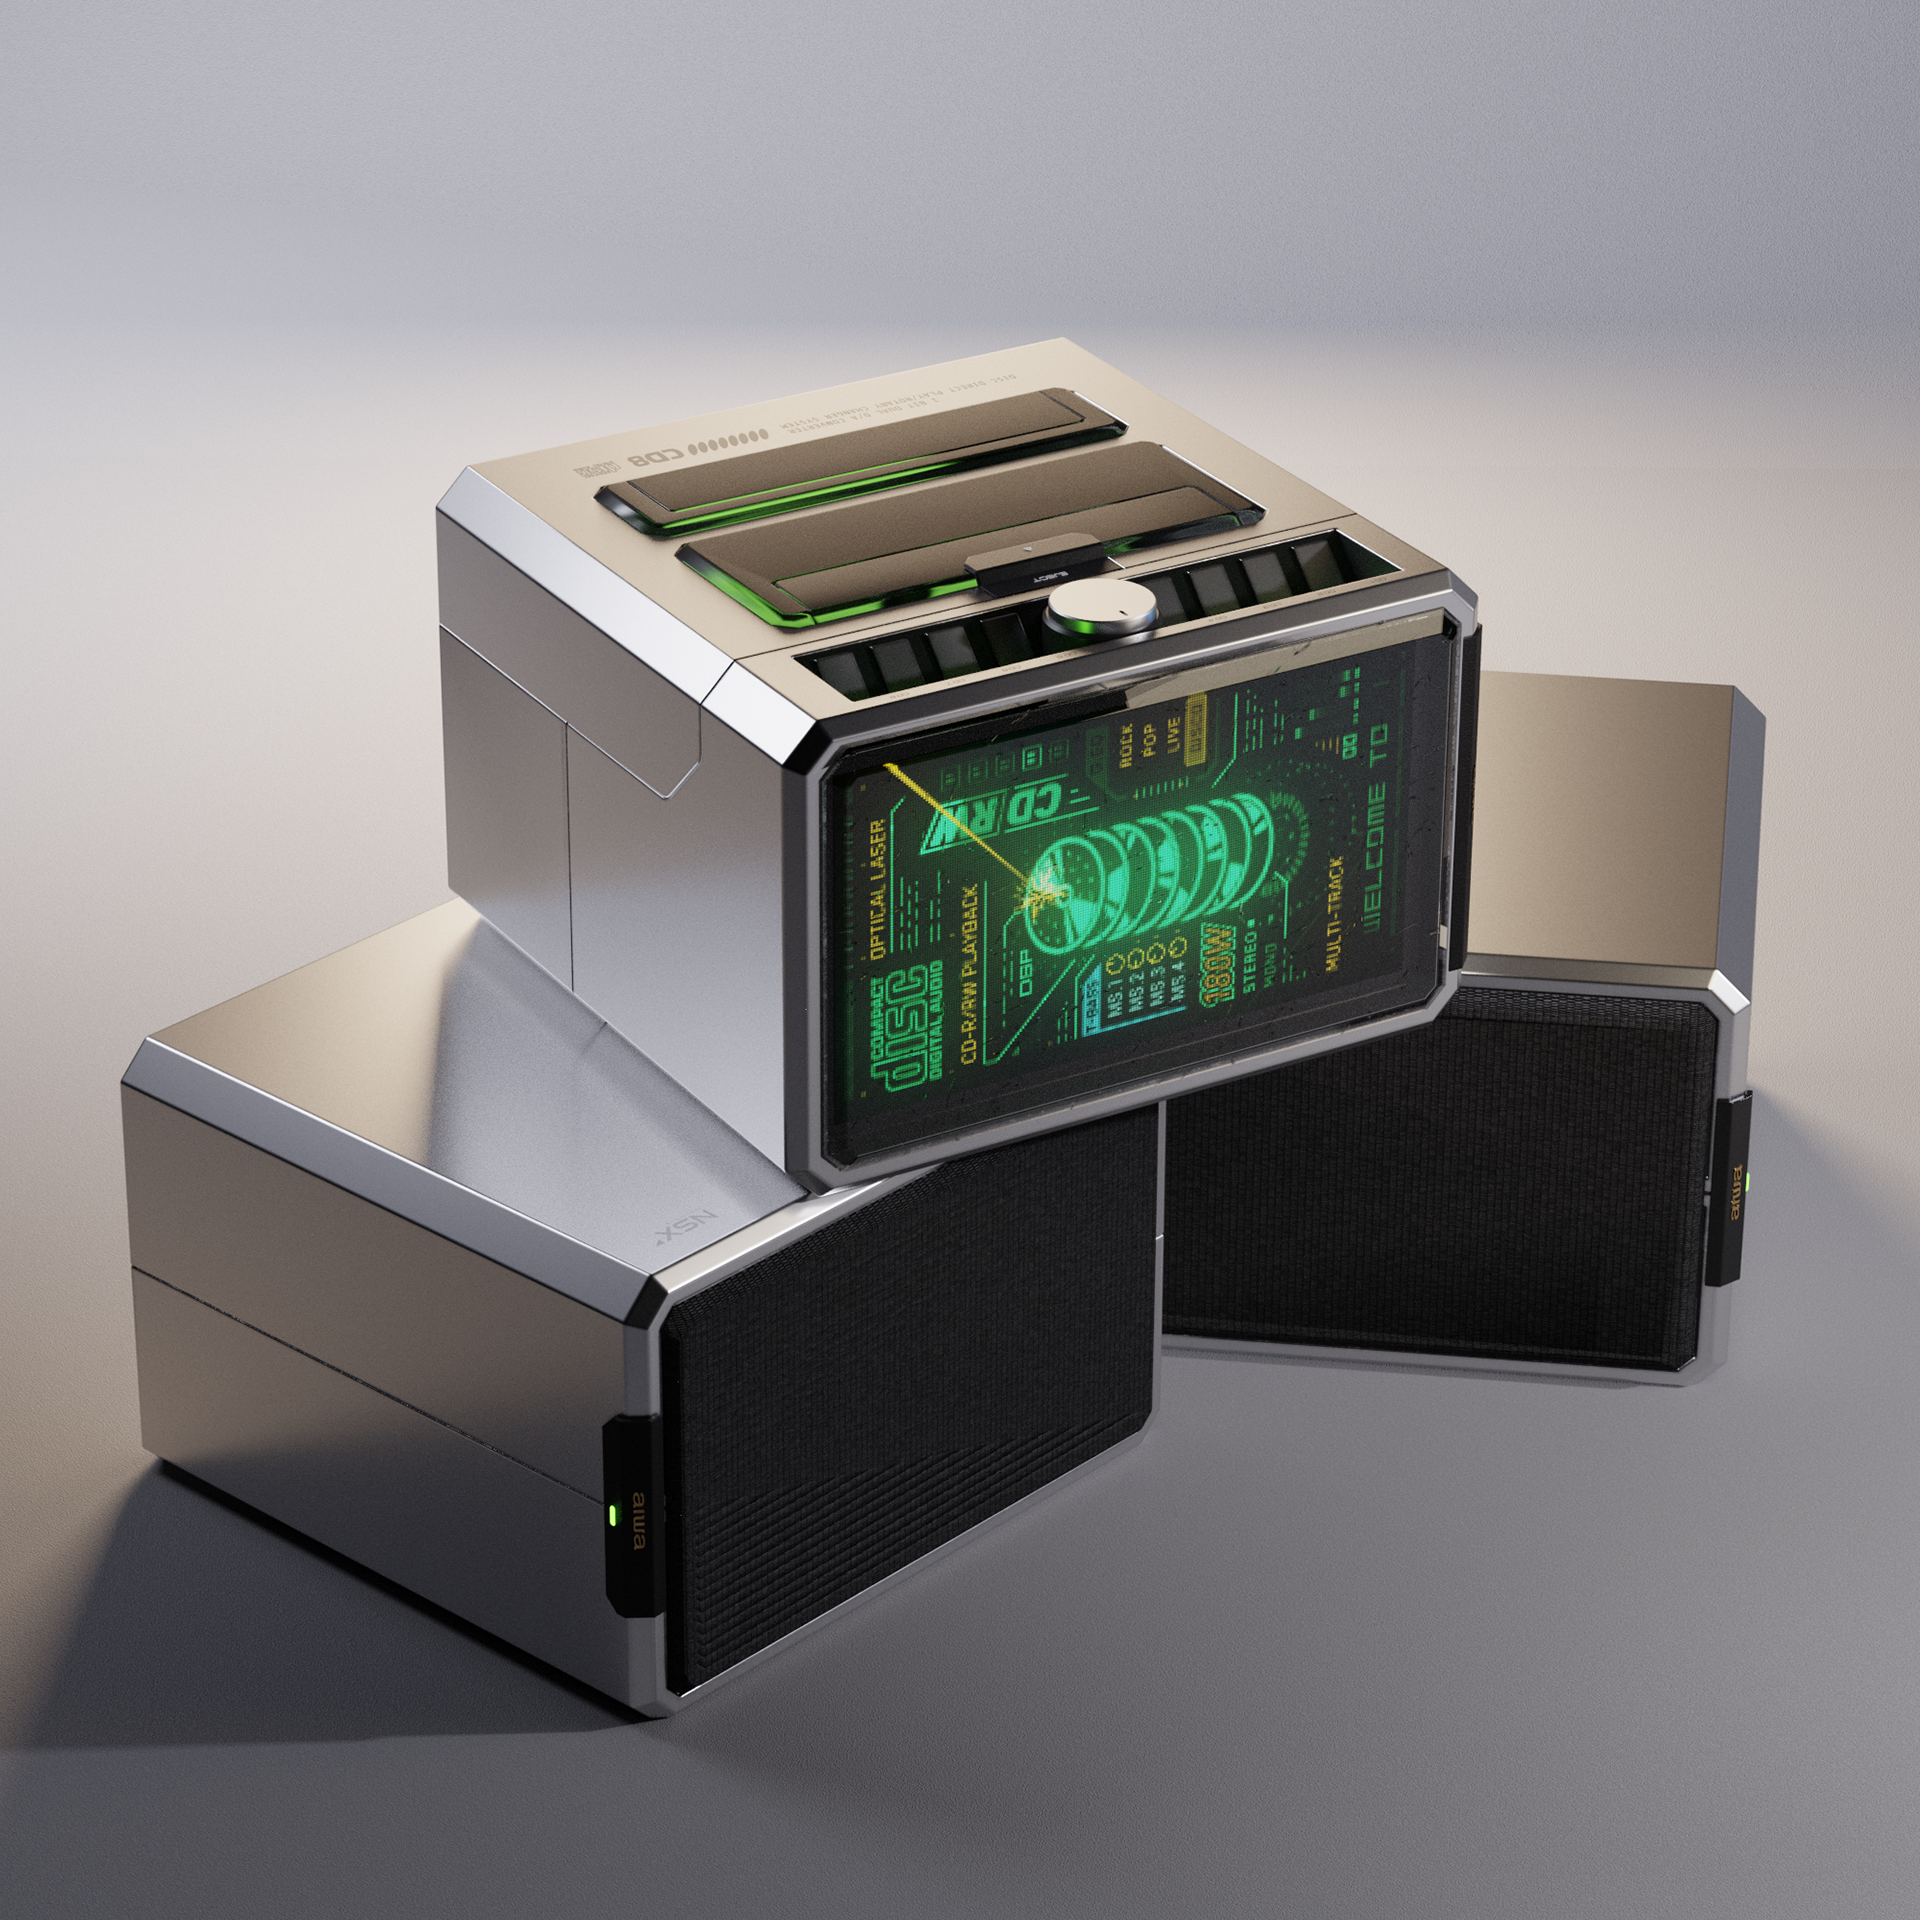
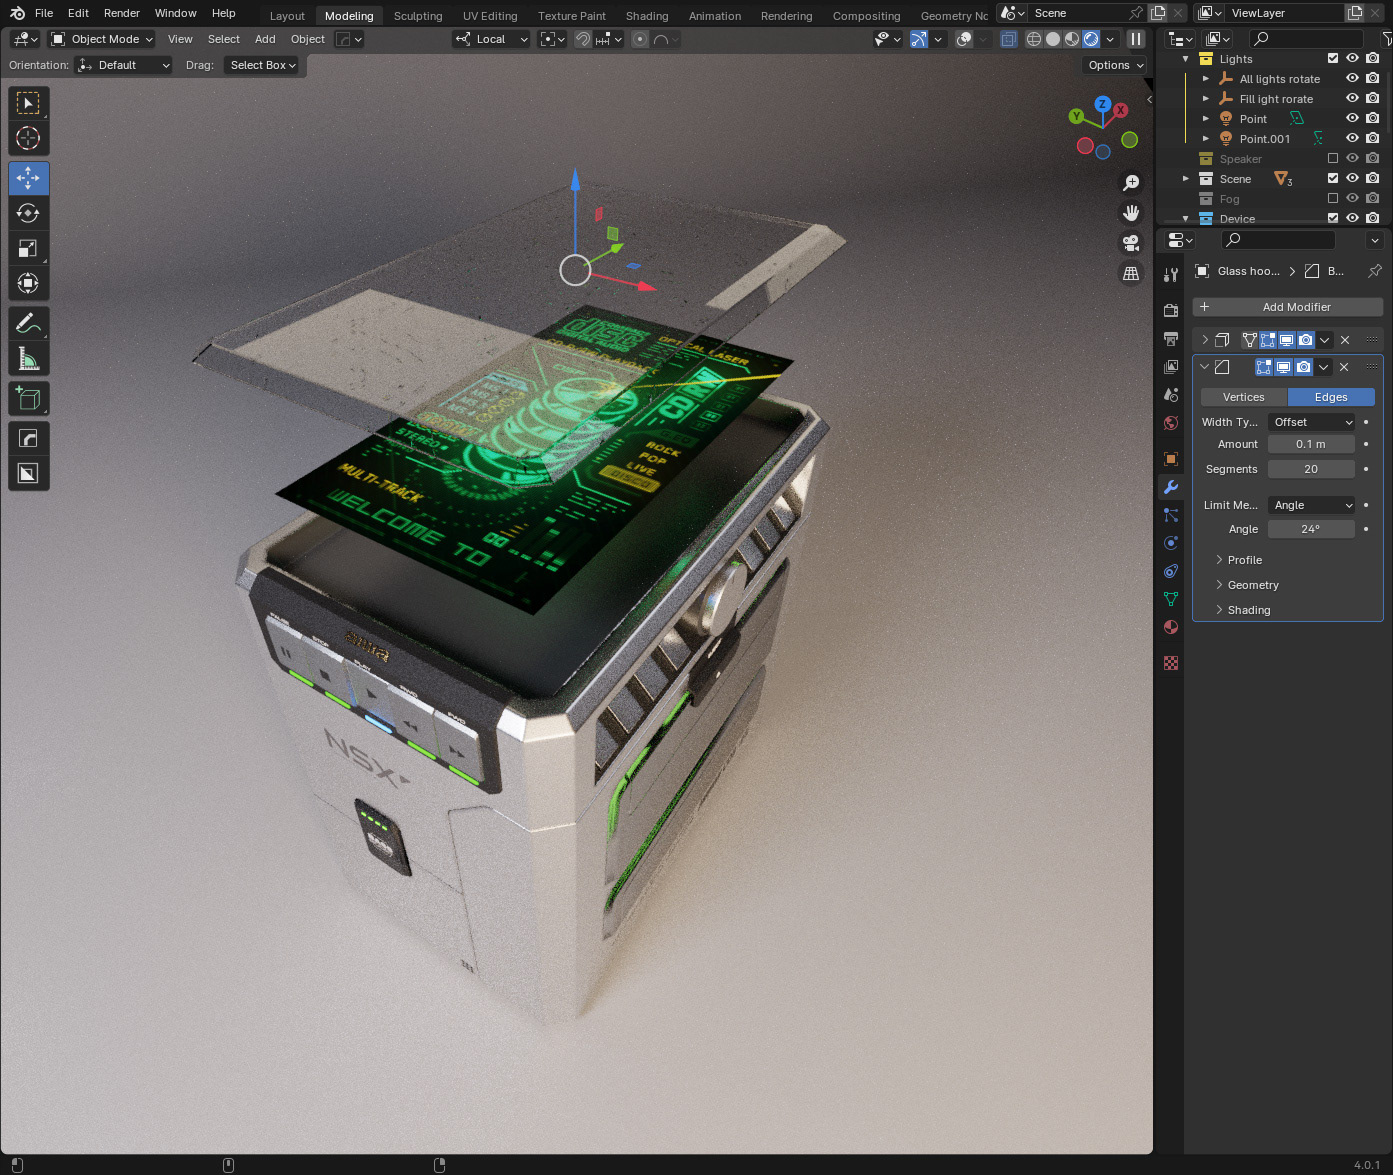
I imported my pre-rendered animation loop as a plane, set the material to emissive and put a glass canopy on top.
DECALS
-
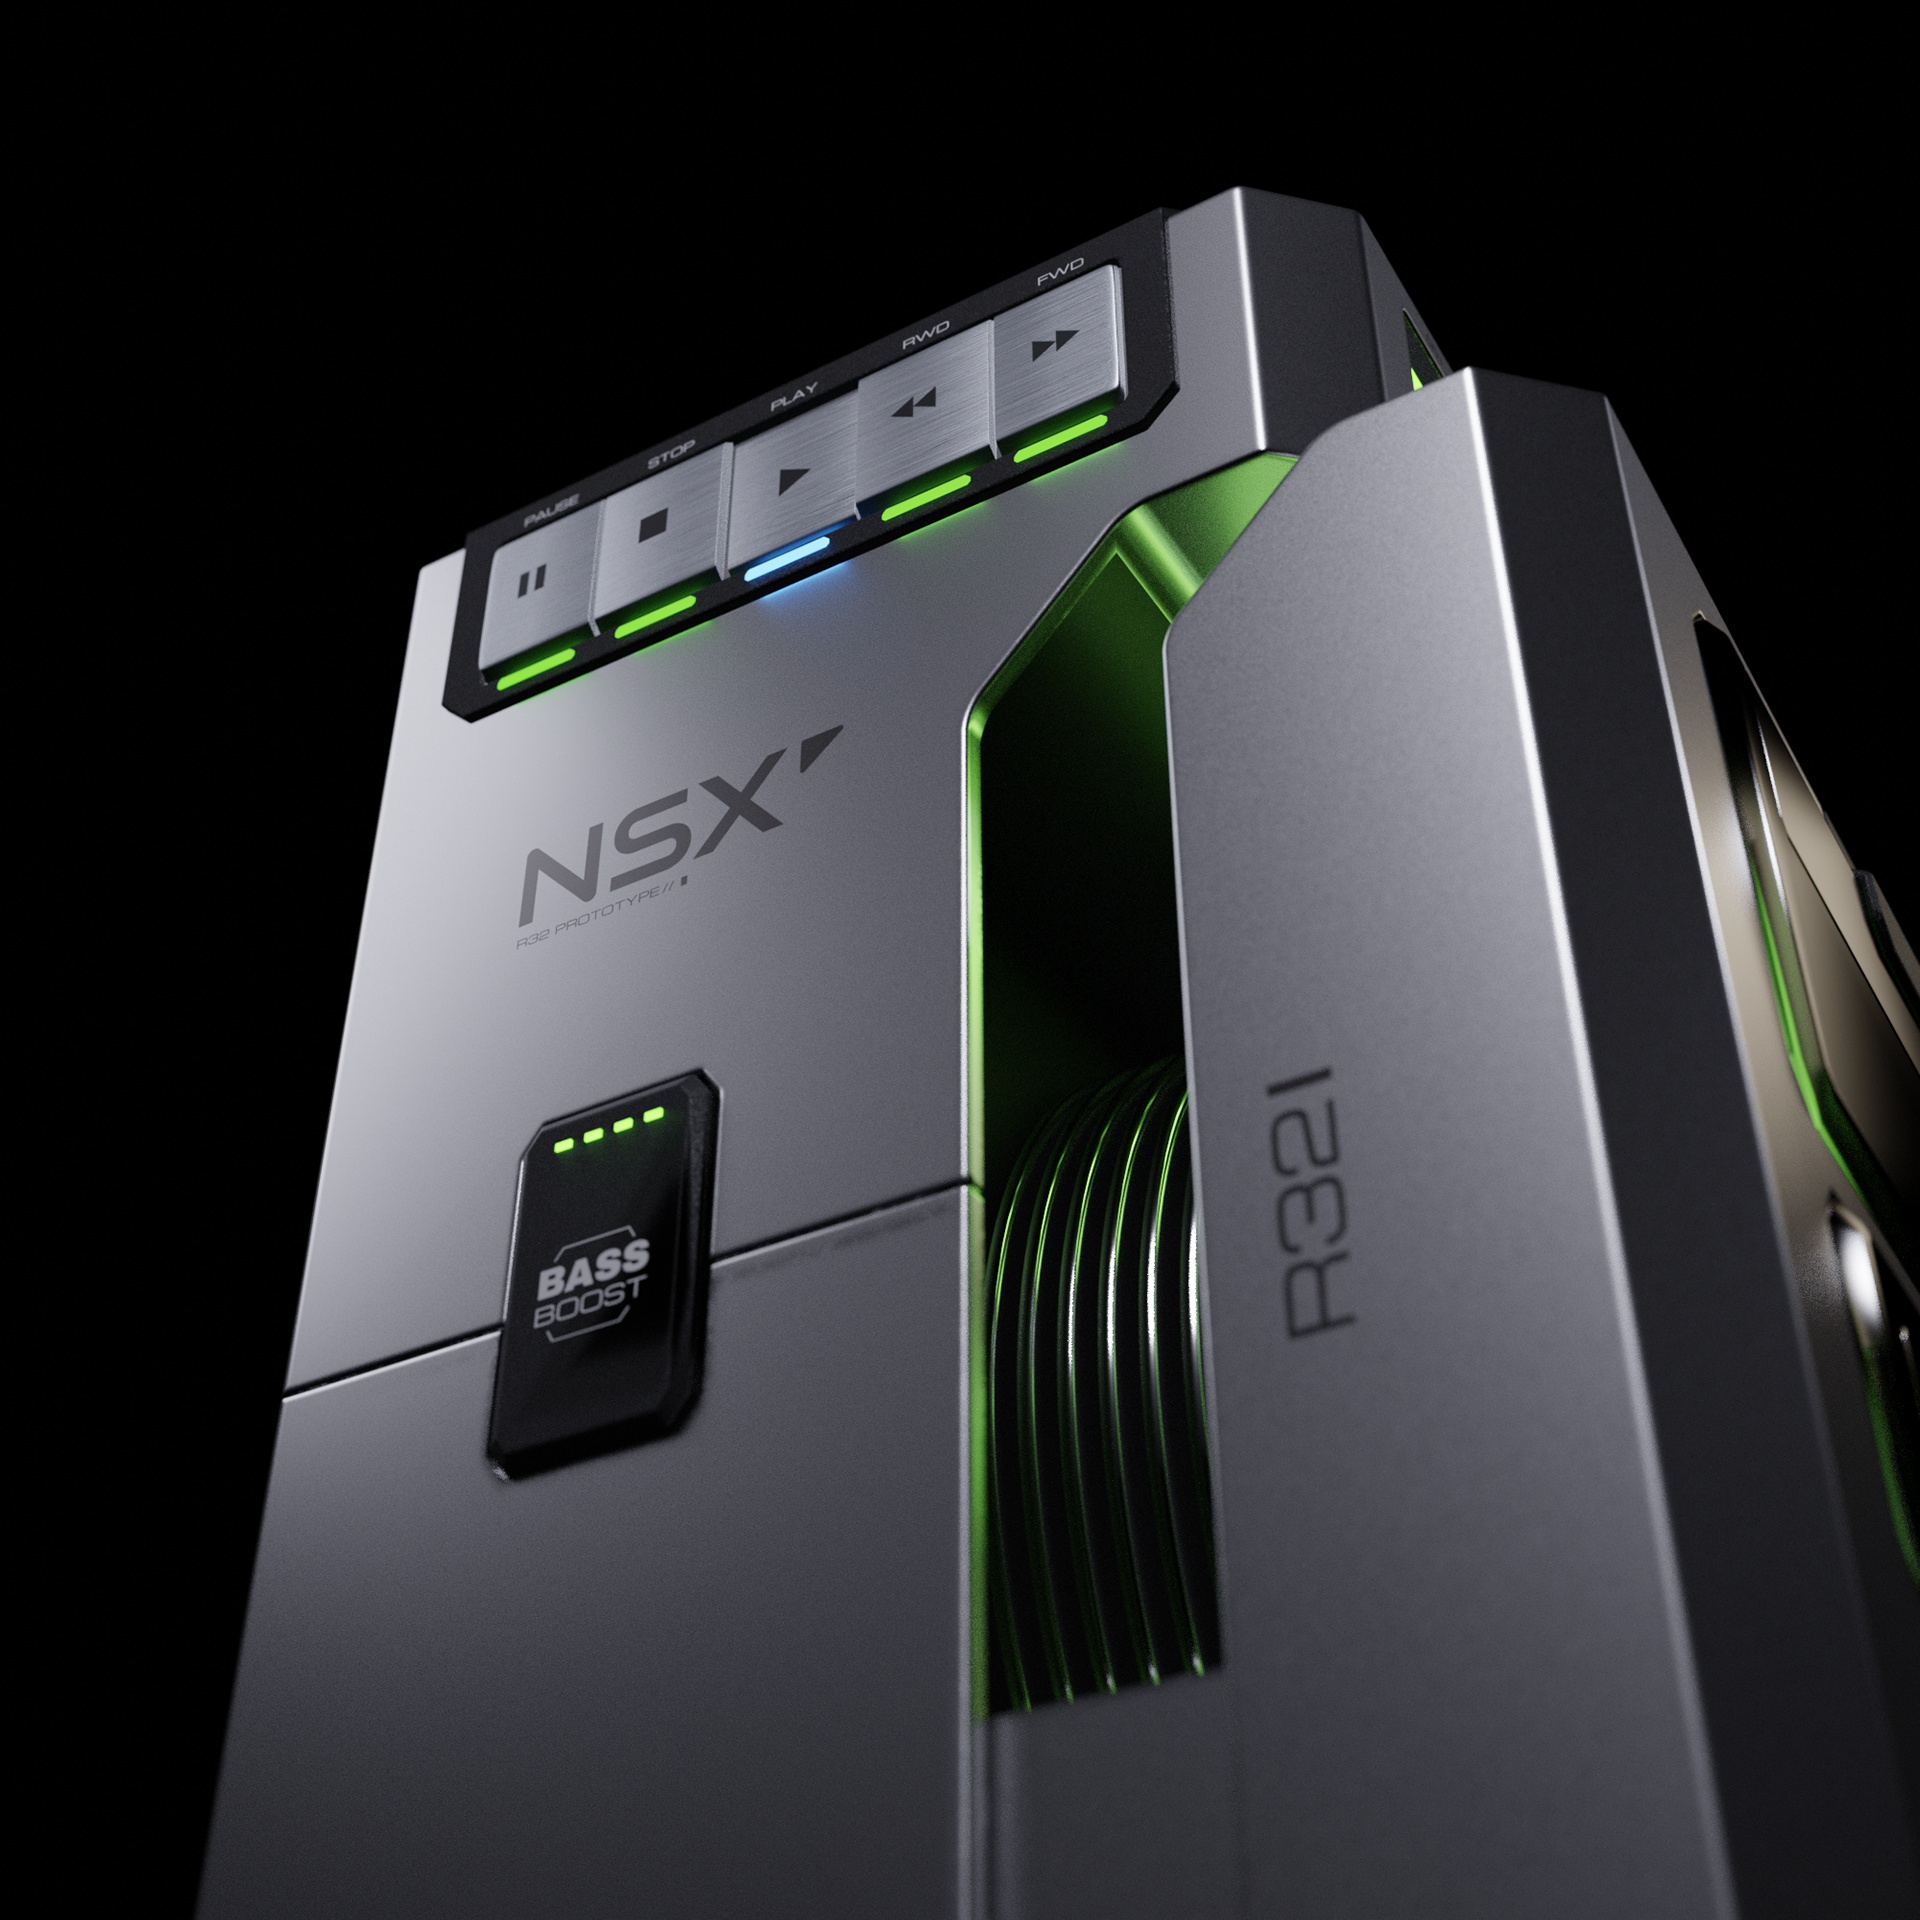
After I was happy with the shape I jumped into illustrator for some quick decals
LIGHTING & MATERIALS
-
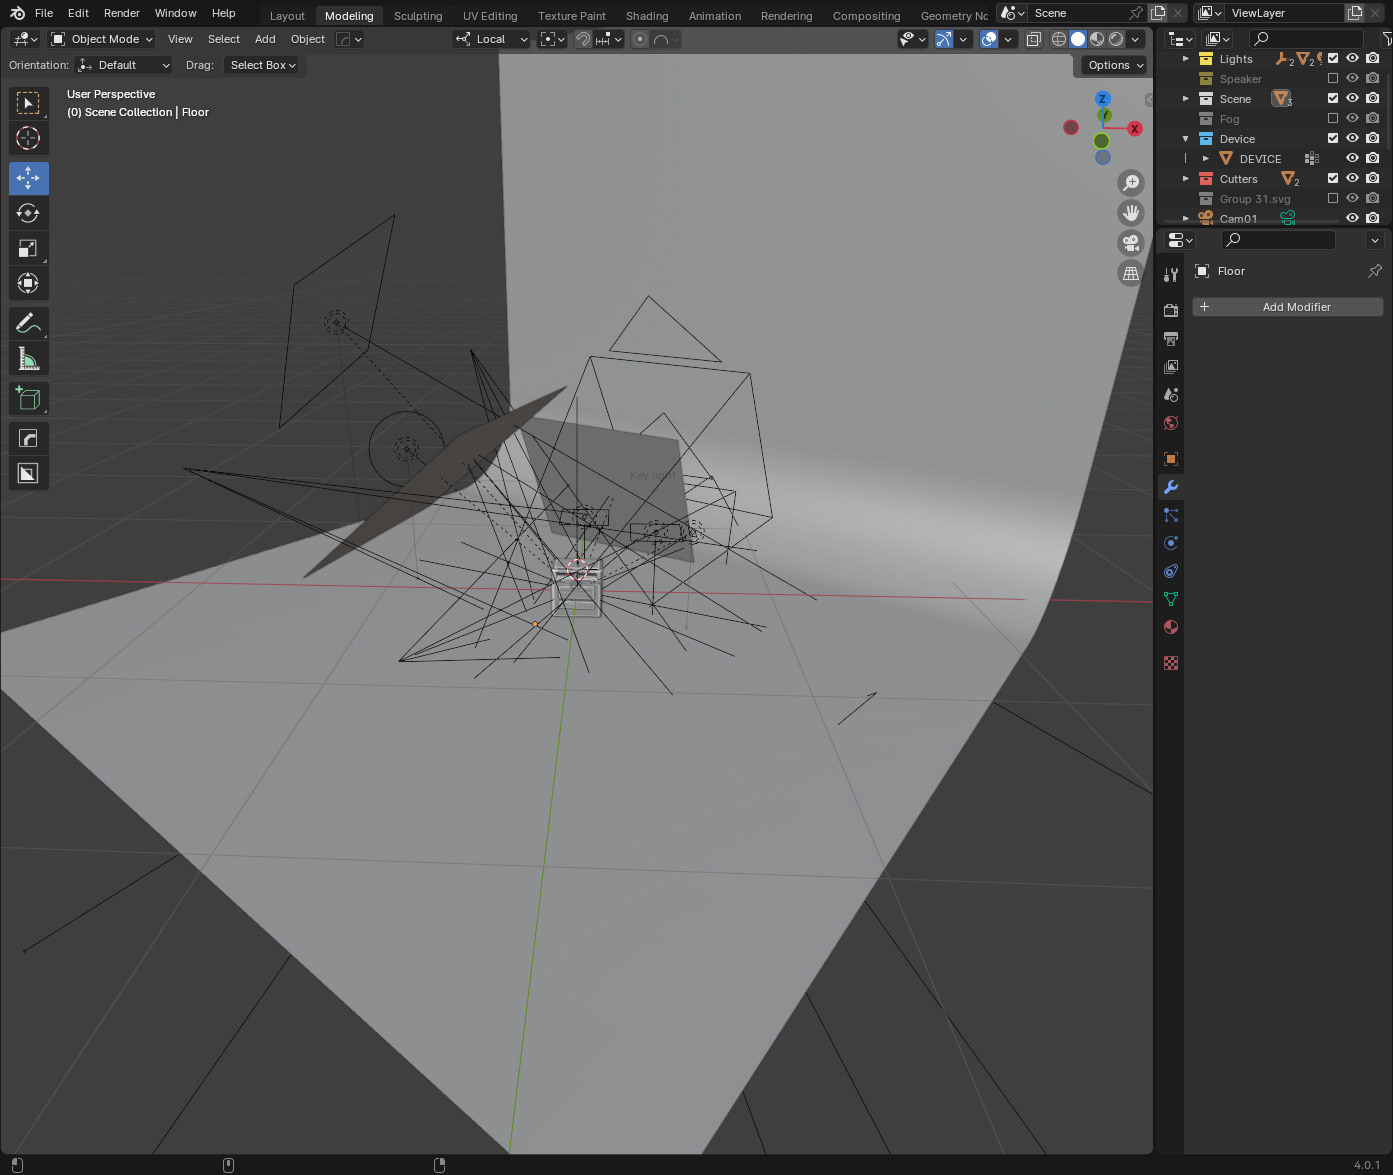
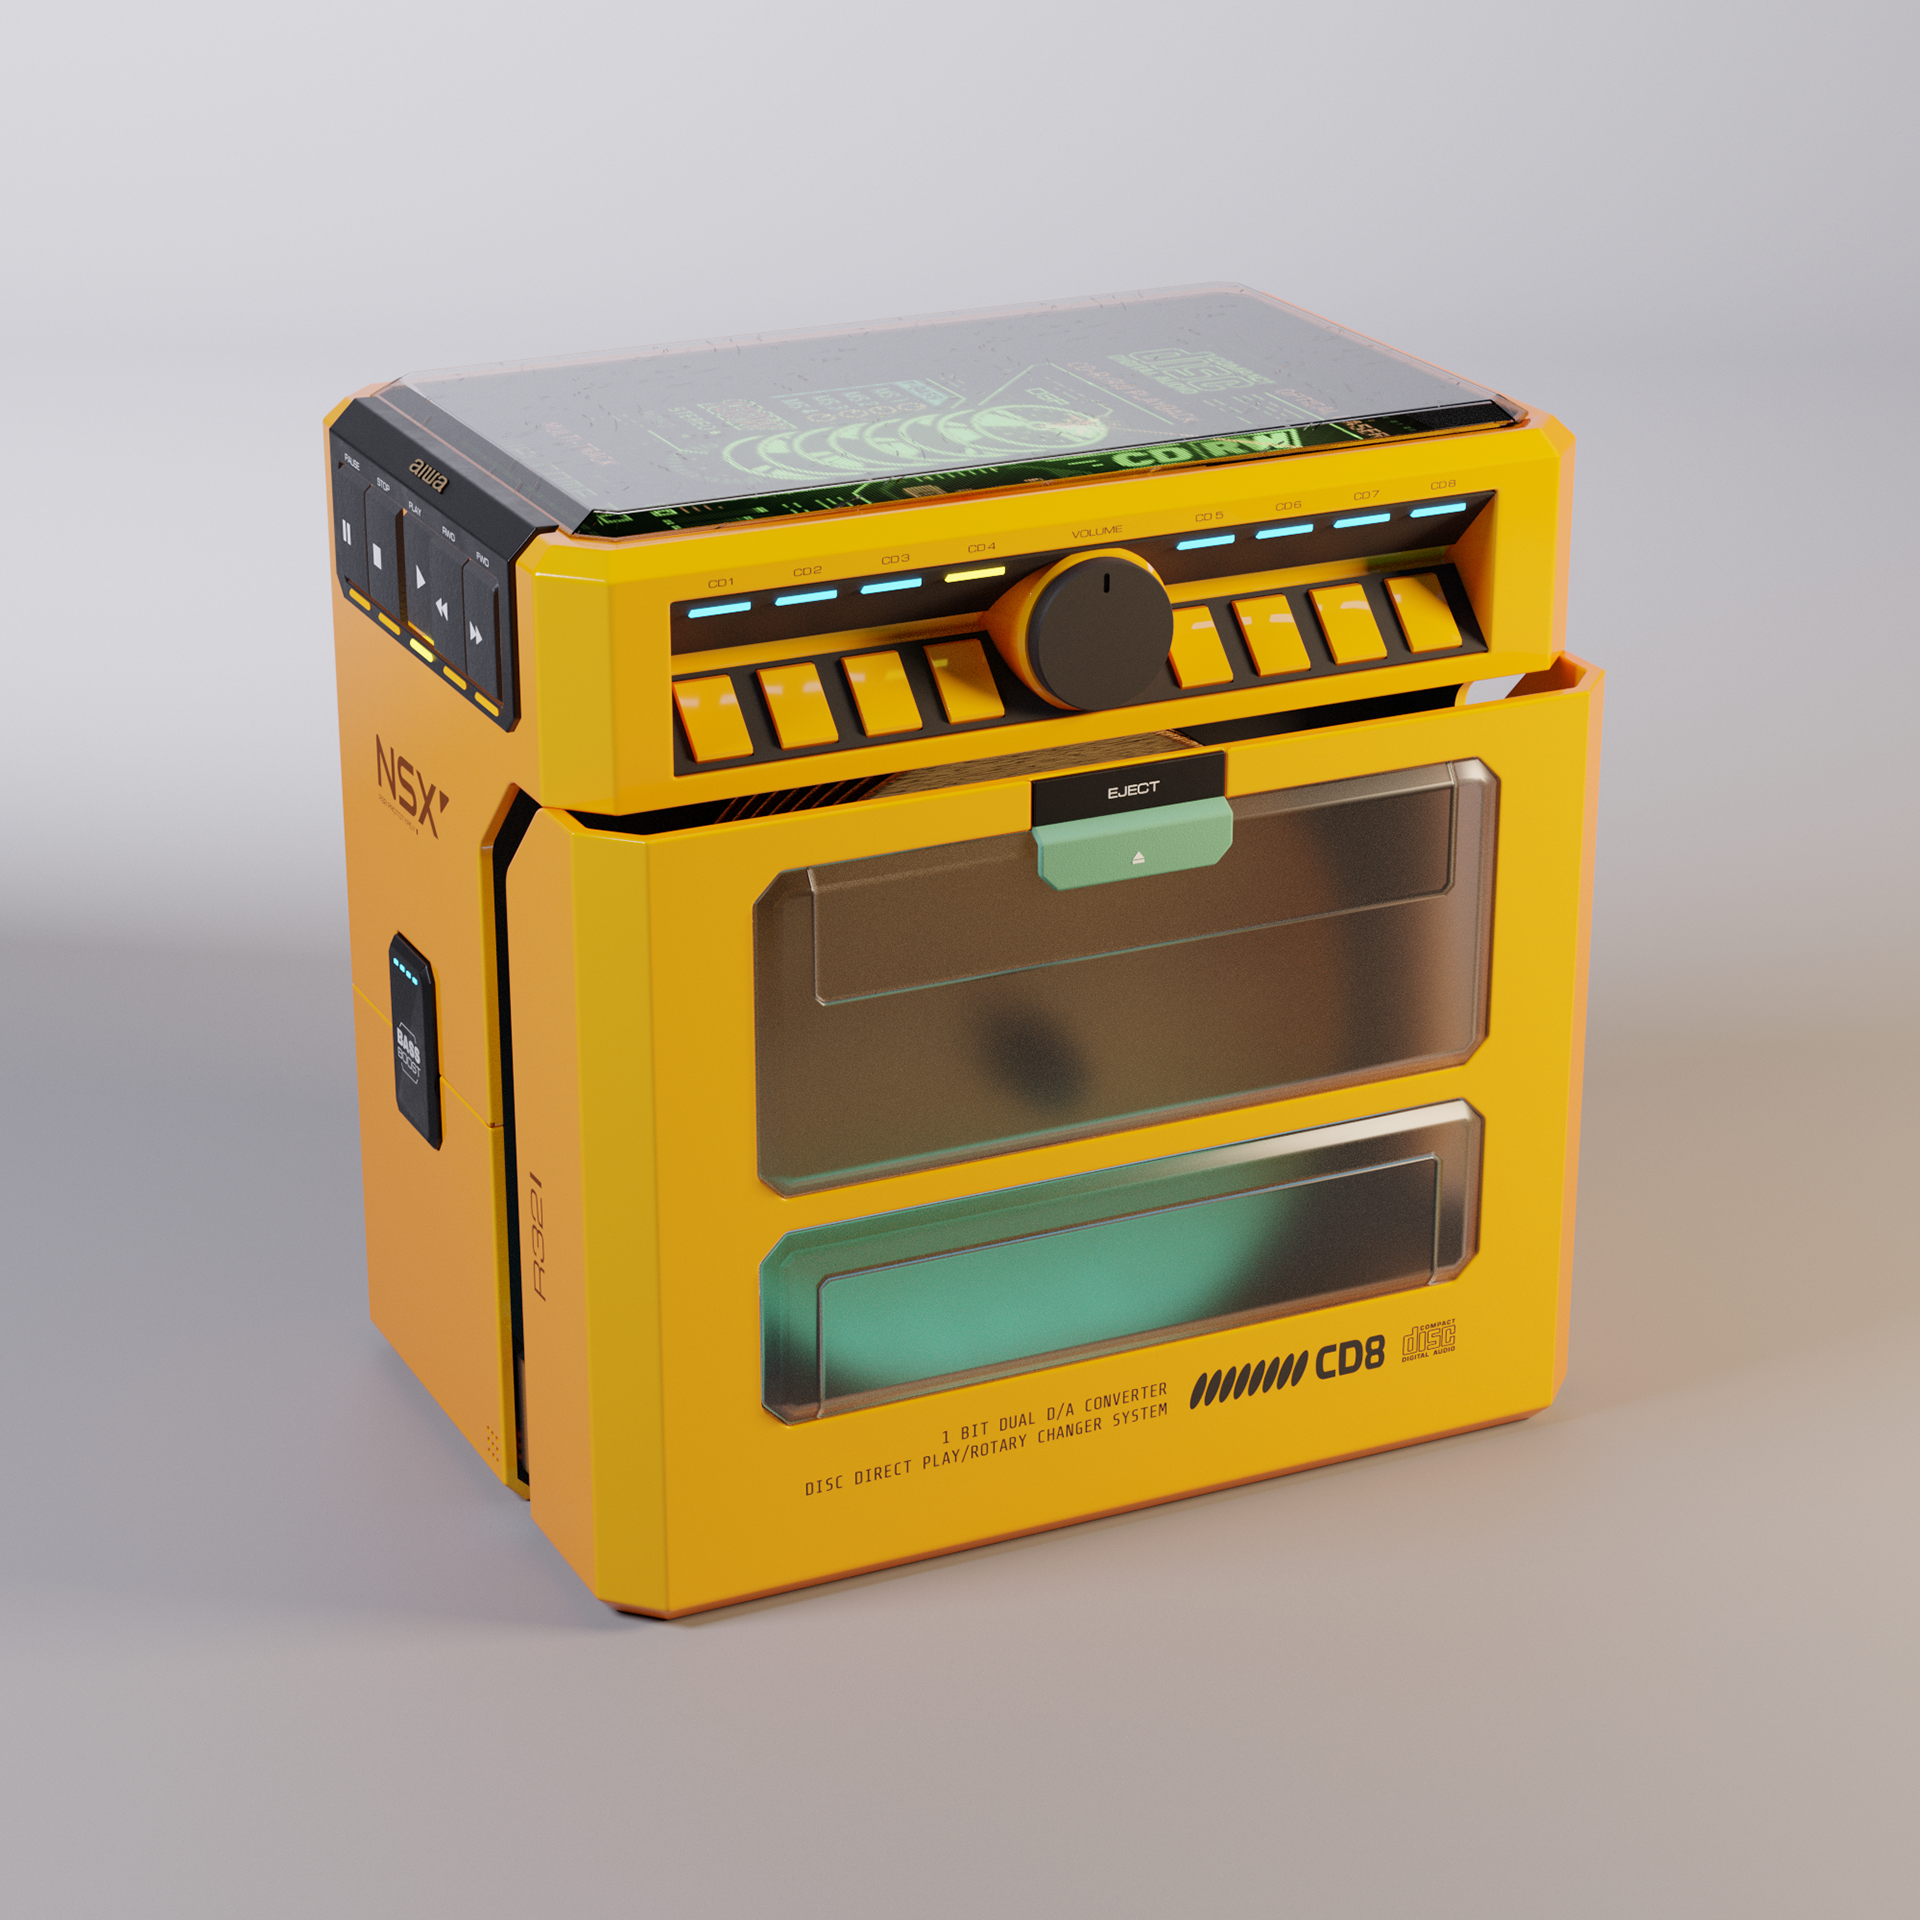
I used a simple 3 light setup, and a curved plane as my studio.
For materials I wasn't going to go too deep, so I used Realtime Materials from Ducky3D.
a great material set that's affordable, procedural and works fast both in Evee and Cycles.
For materials I wasn't going to go too deep, so I used Realtime Materials from Ducky3D.
a great material set that's affordable, procedural and works fast both in Evee and Cycles.
Experiments
-
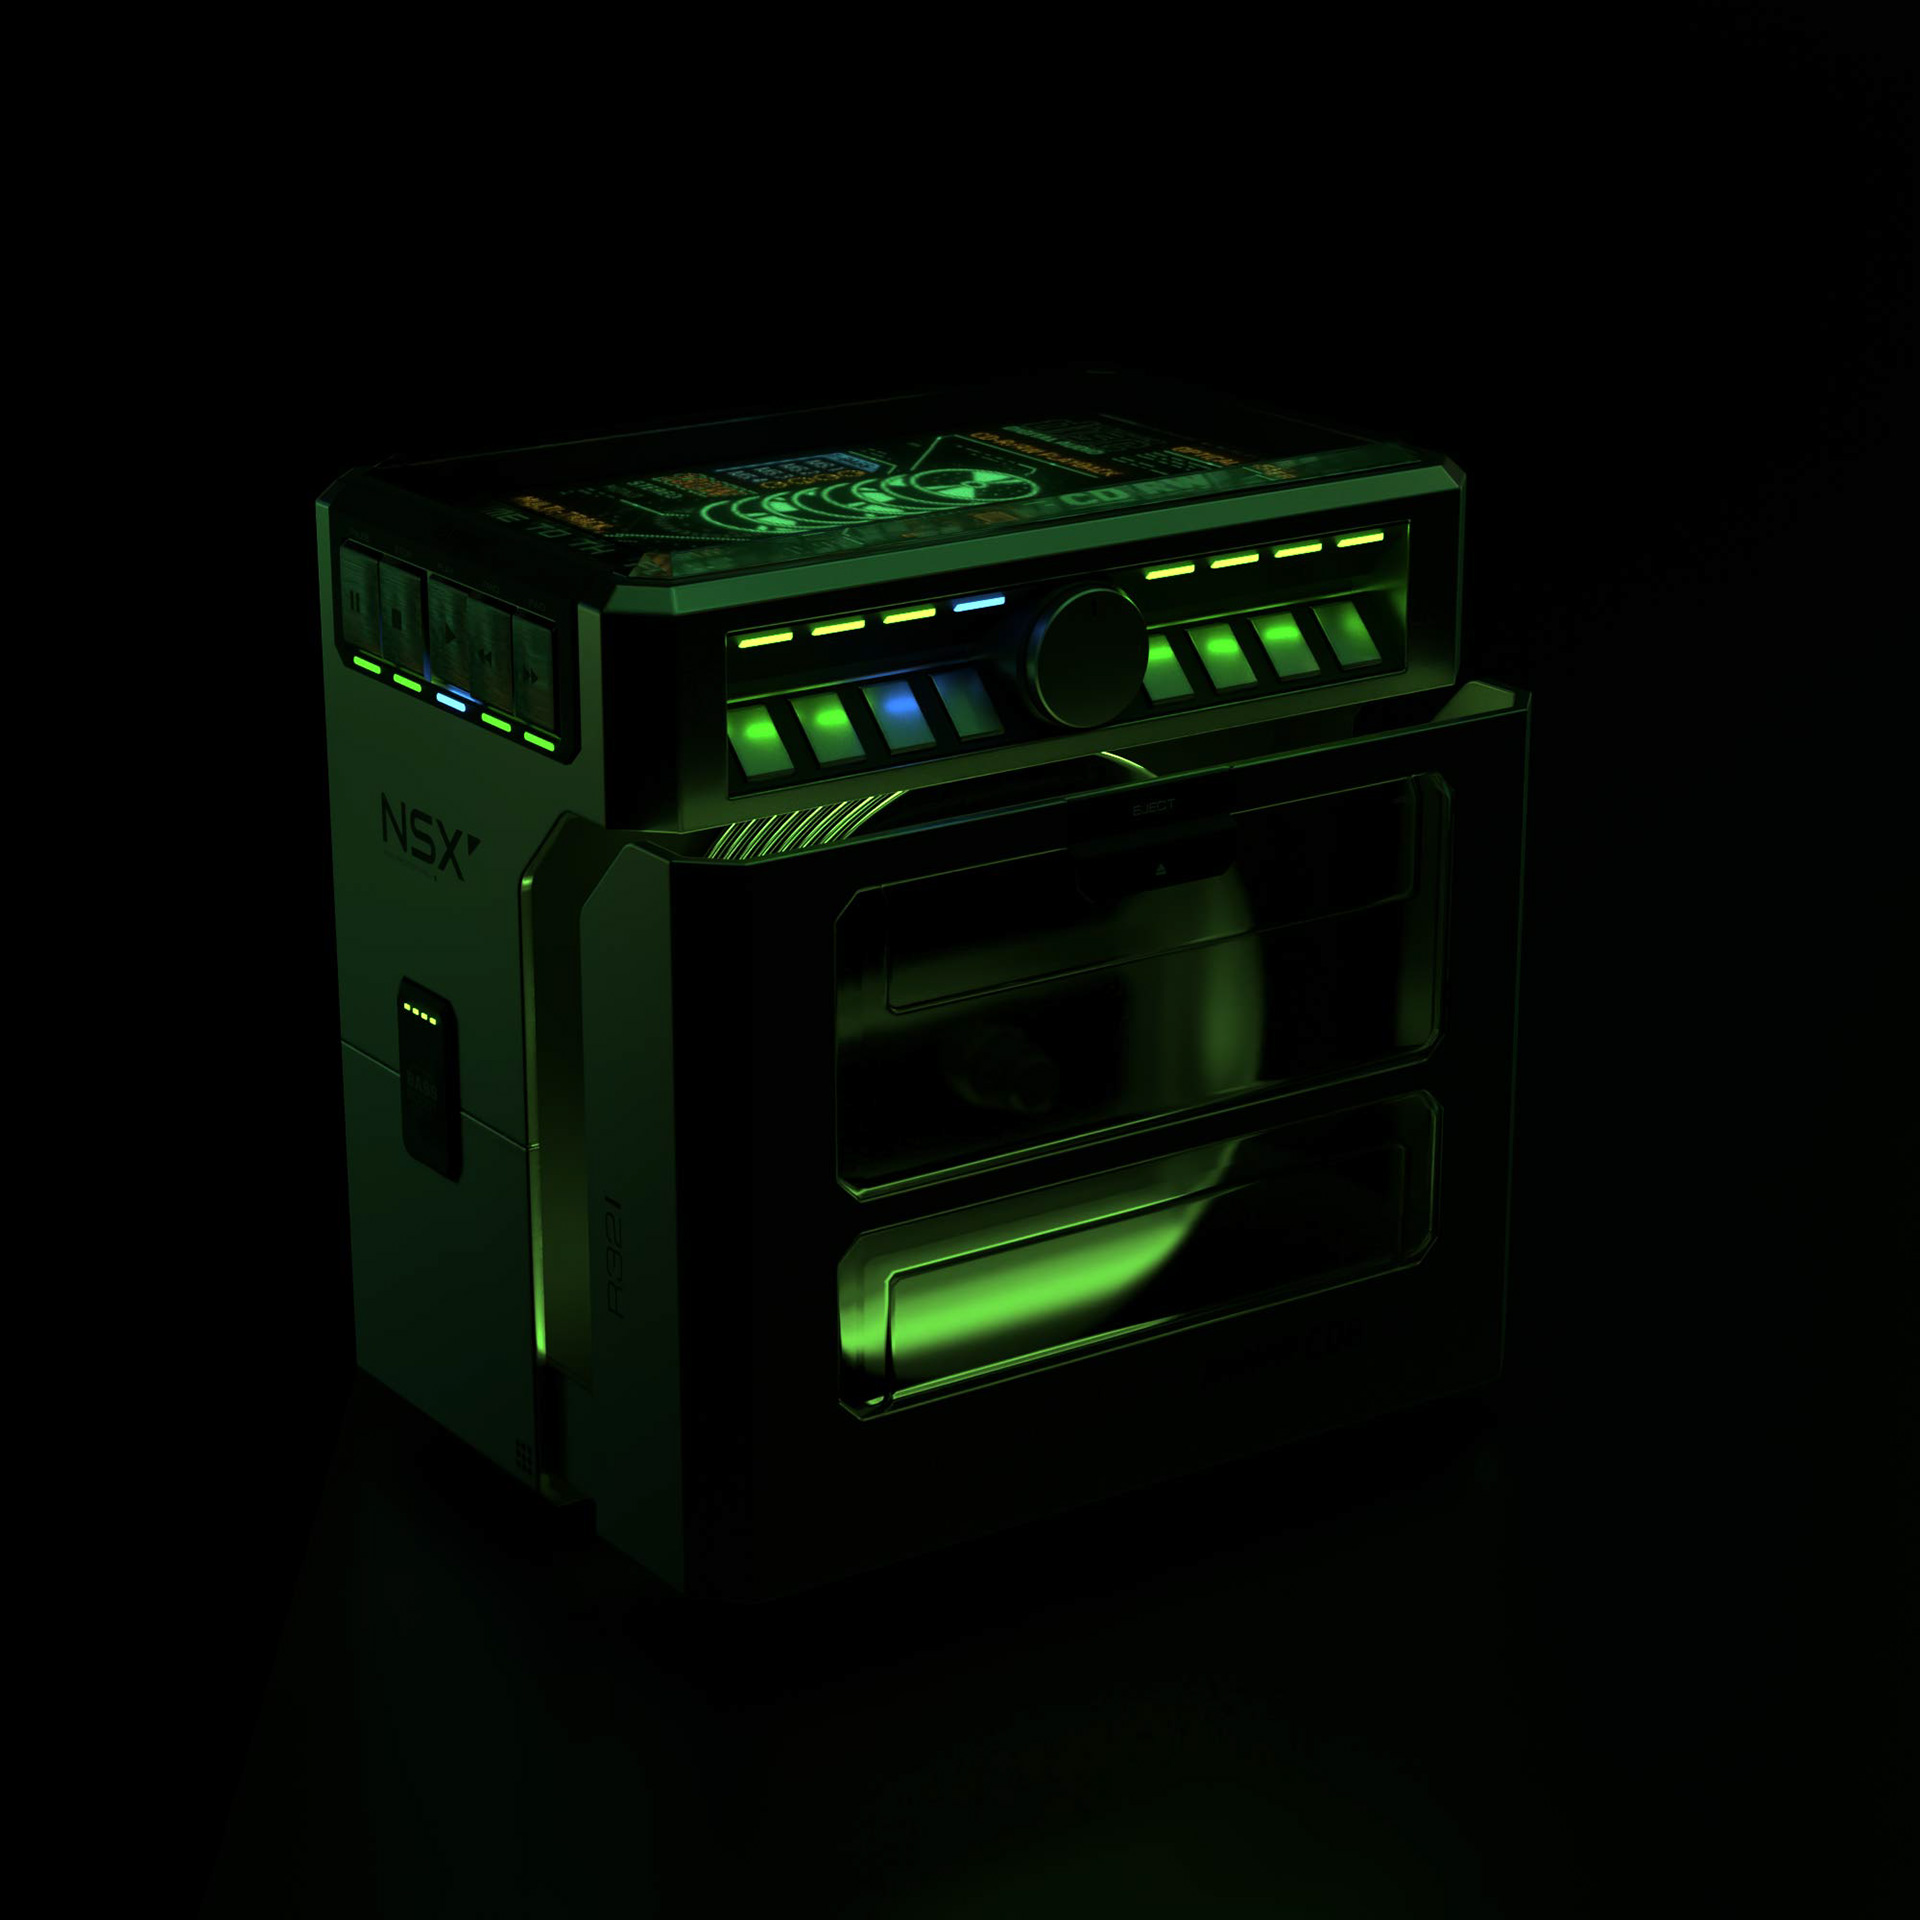
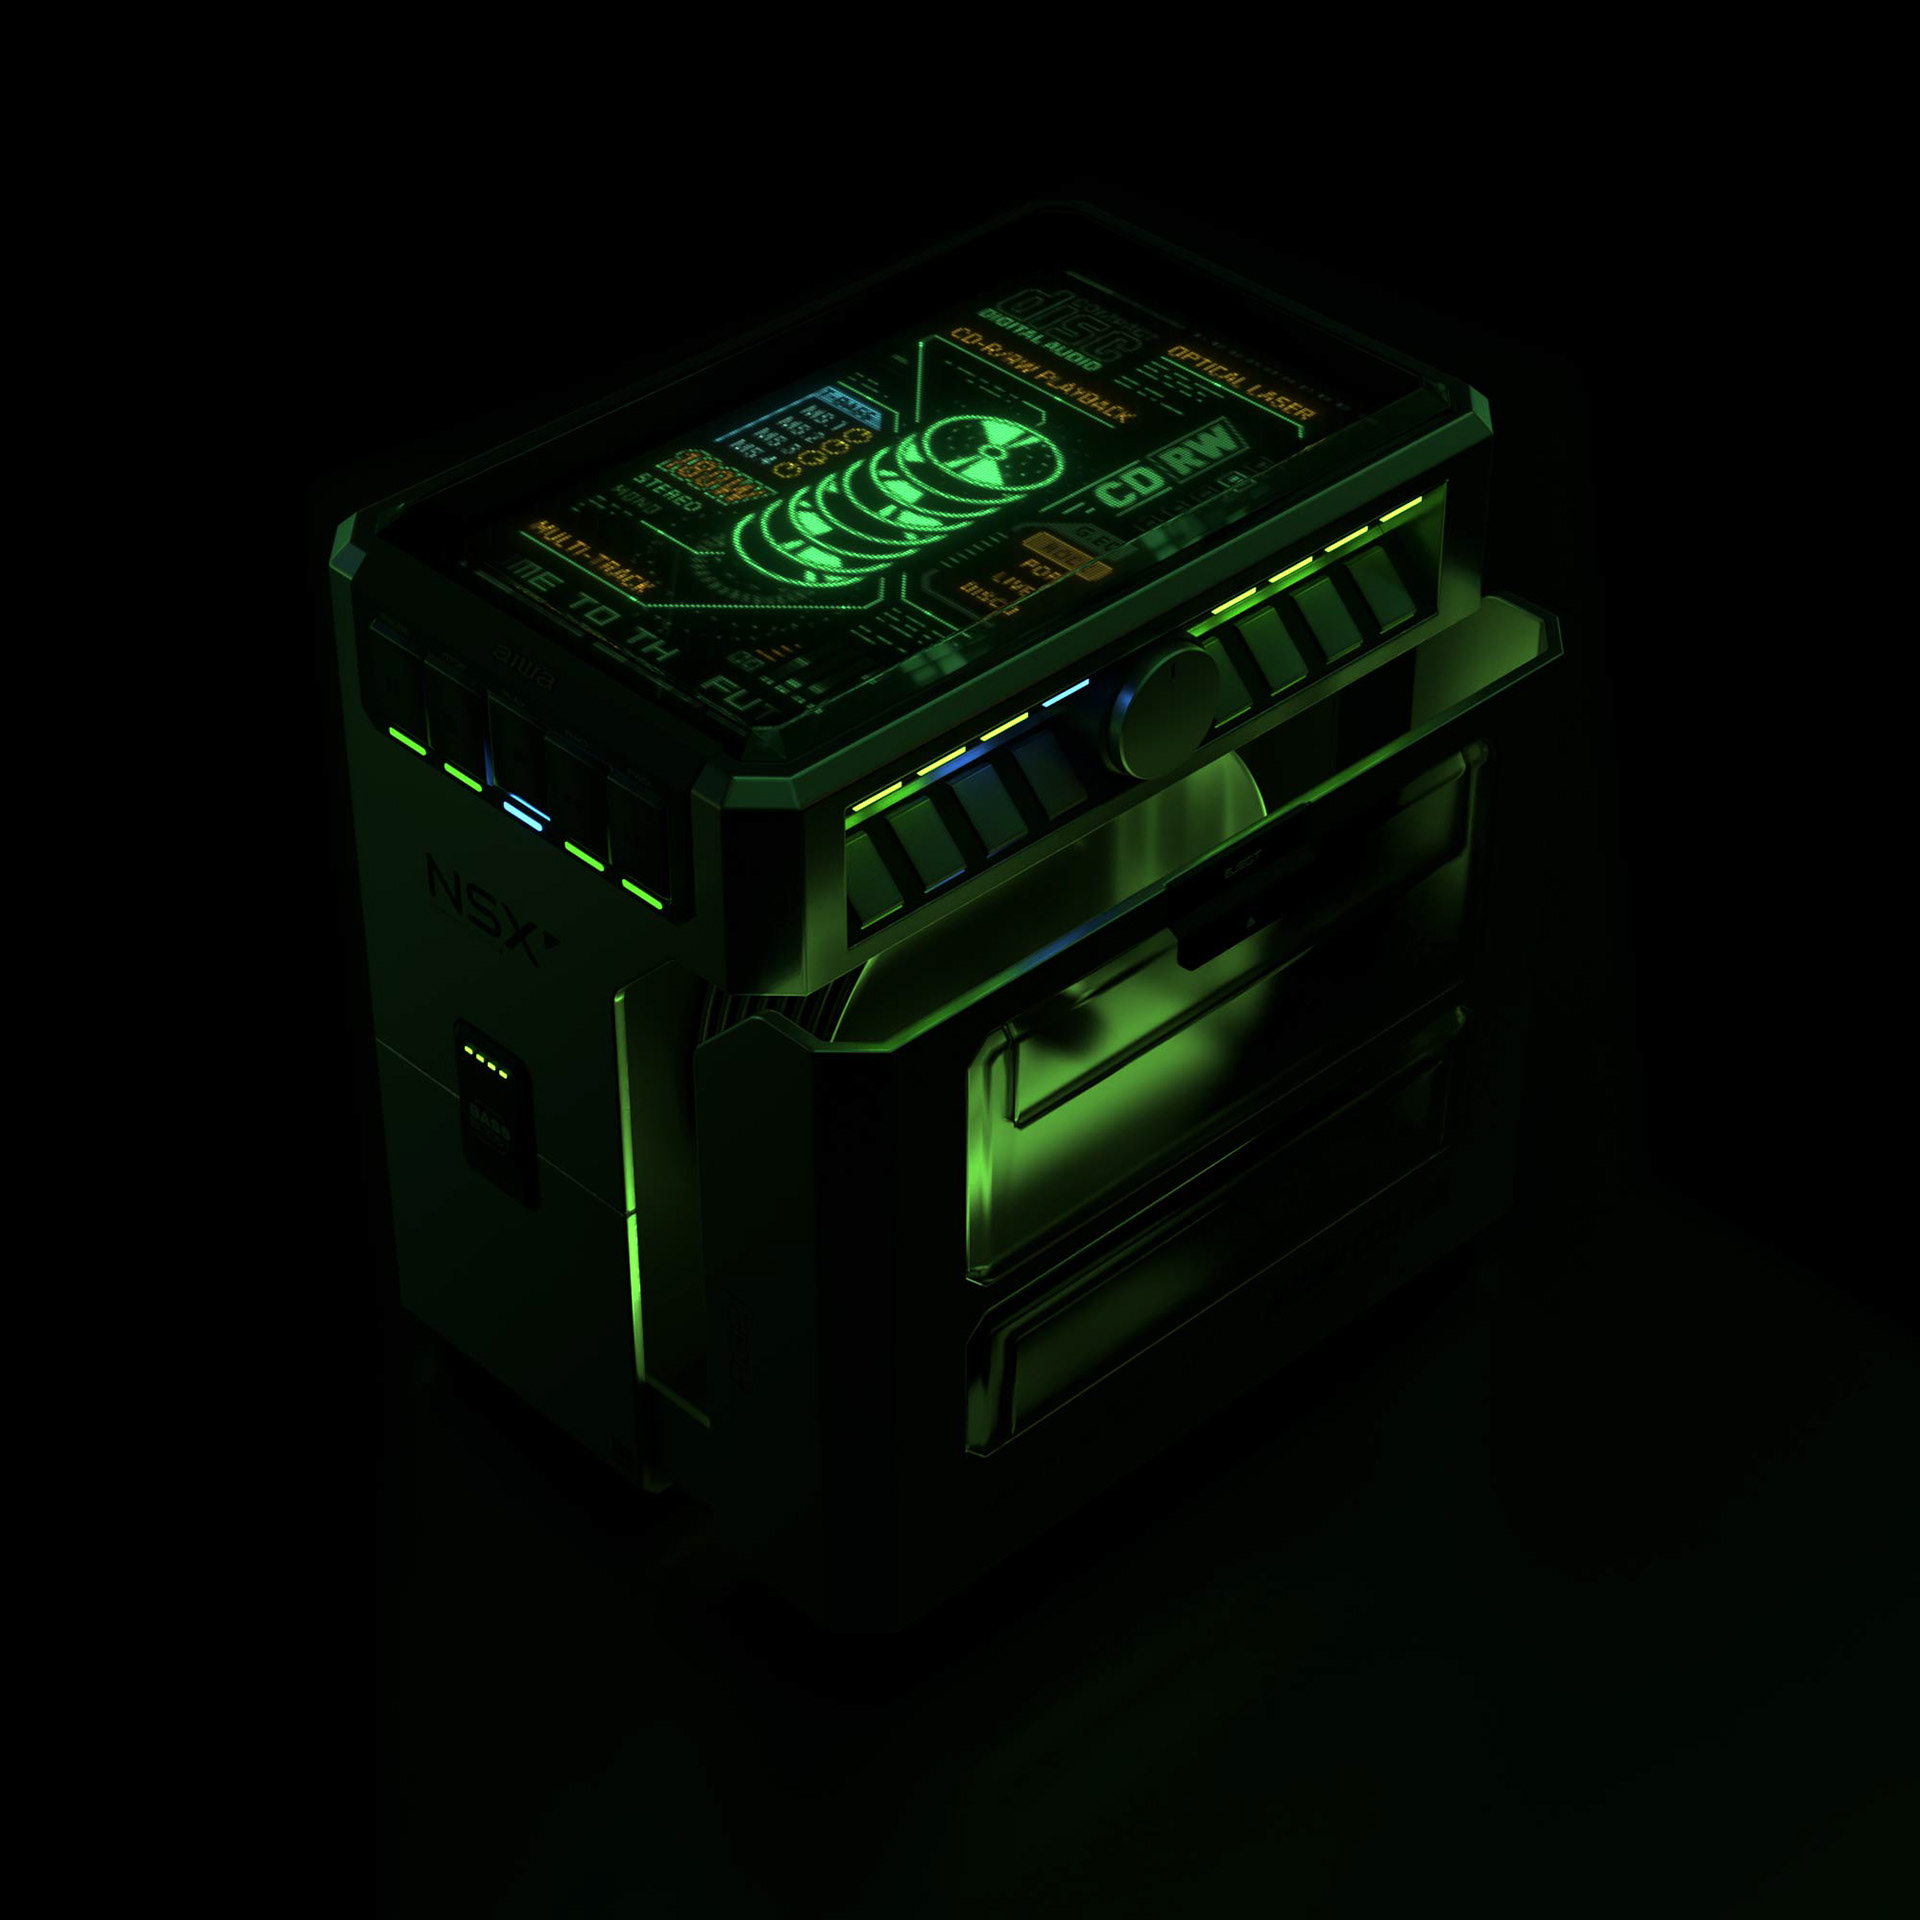
I tried some dark renders, illuminated only by the device's own LED's and screen
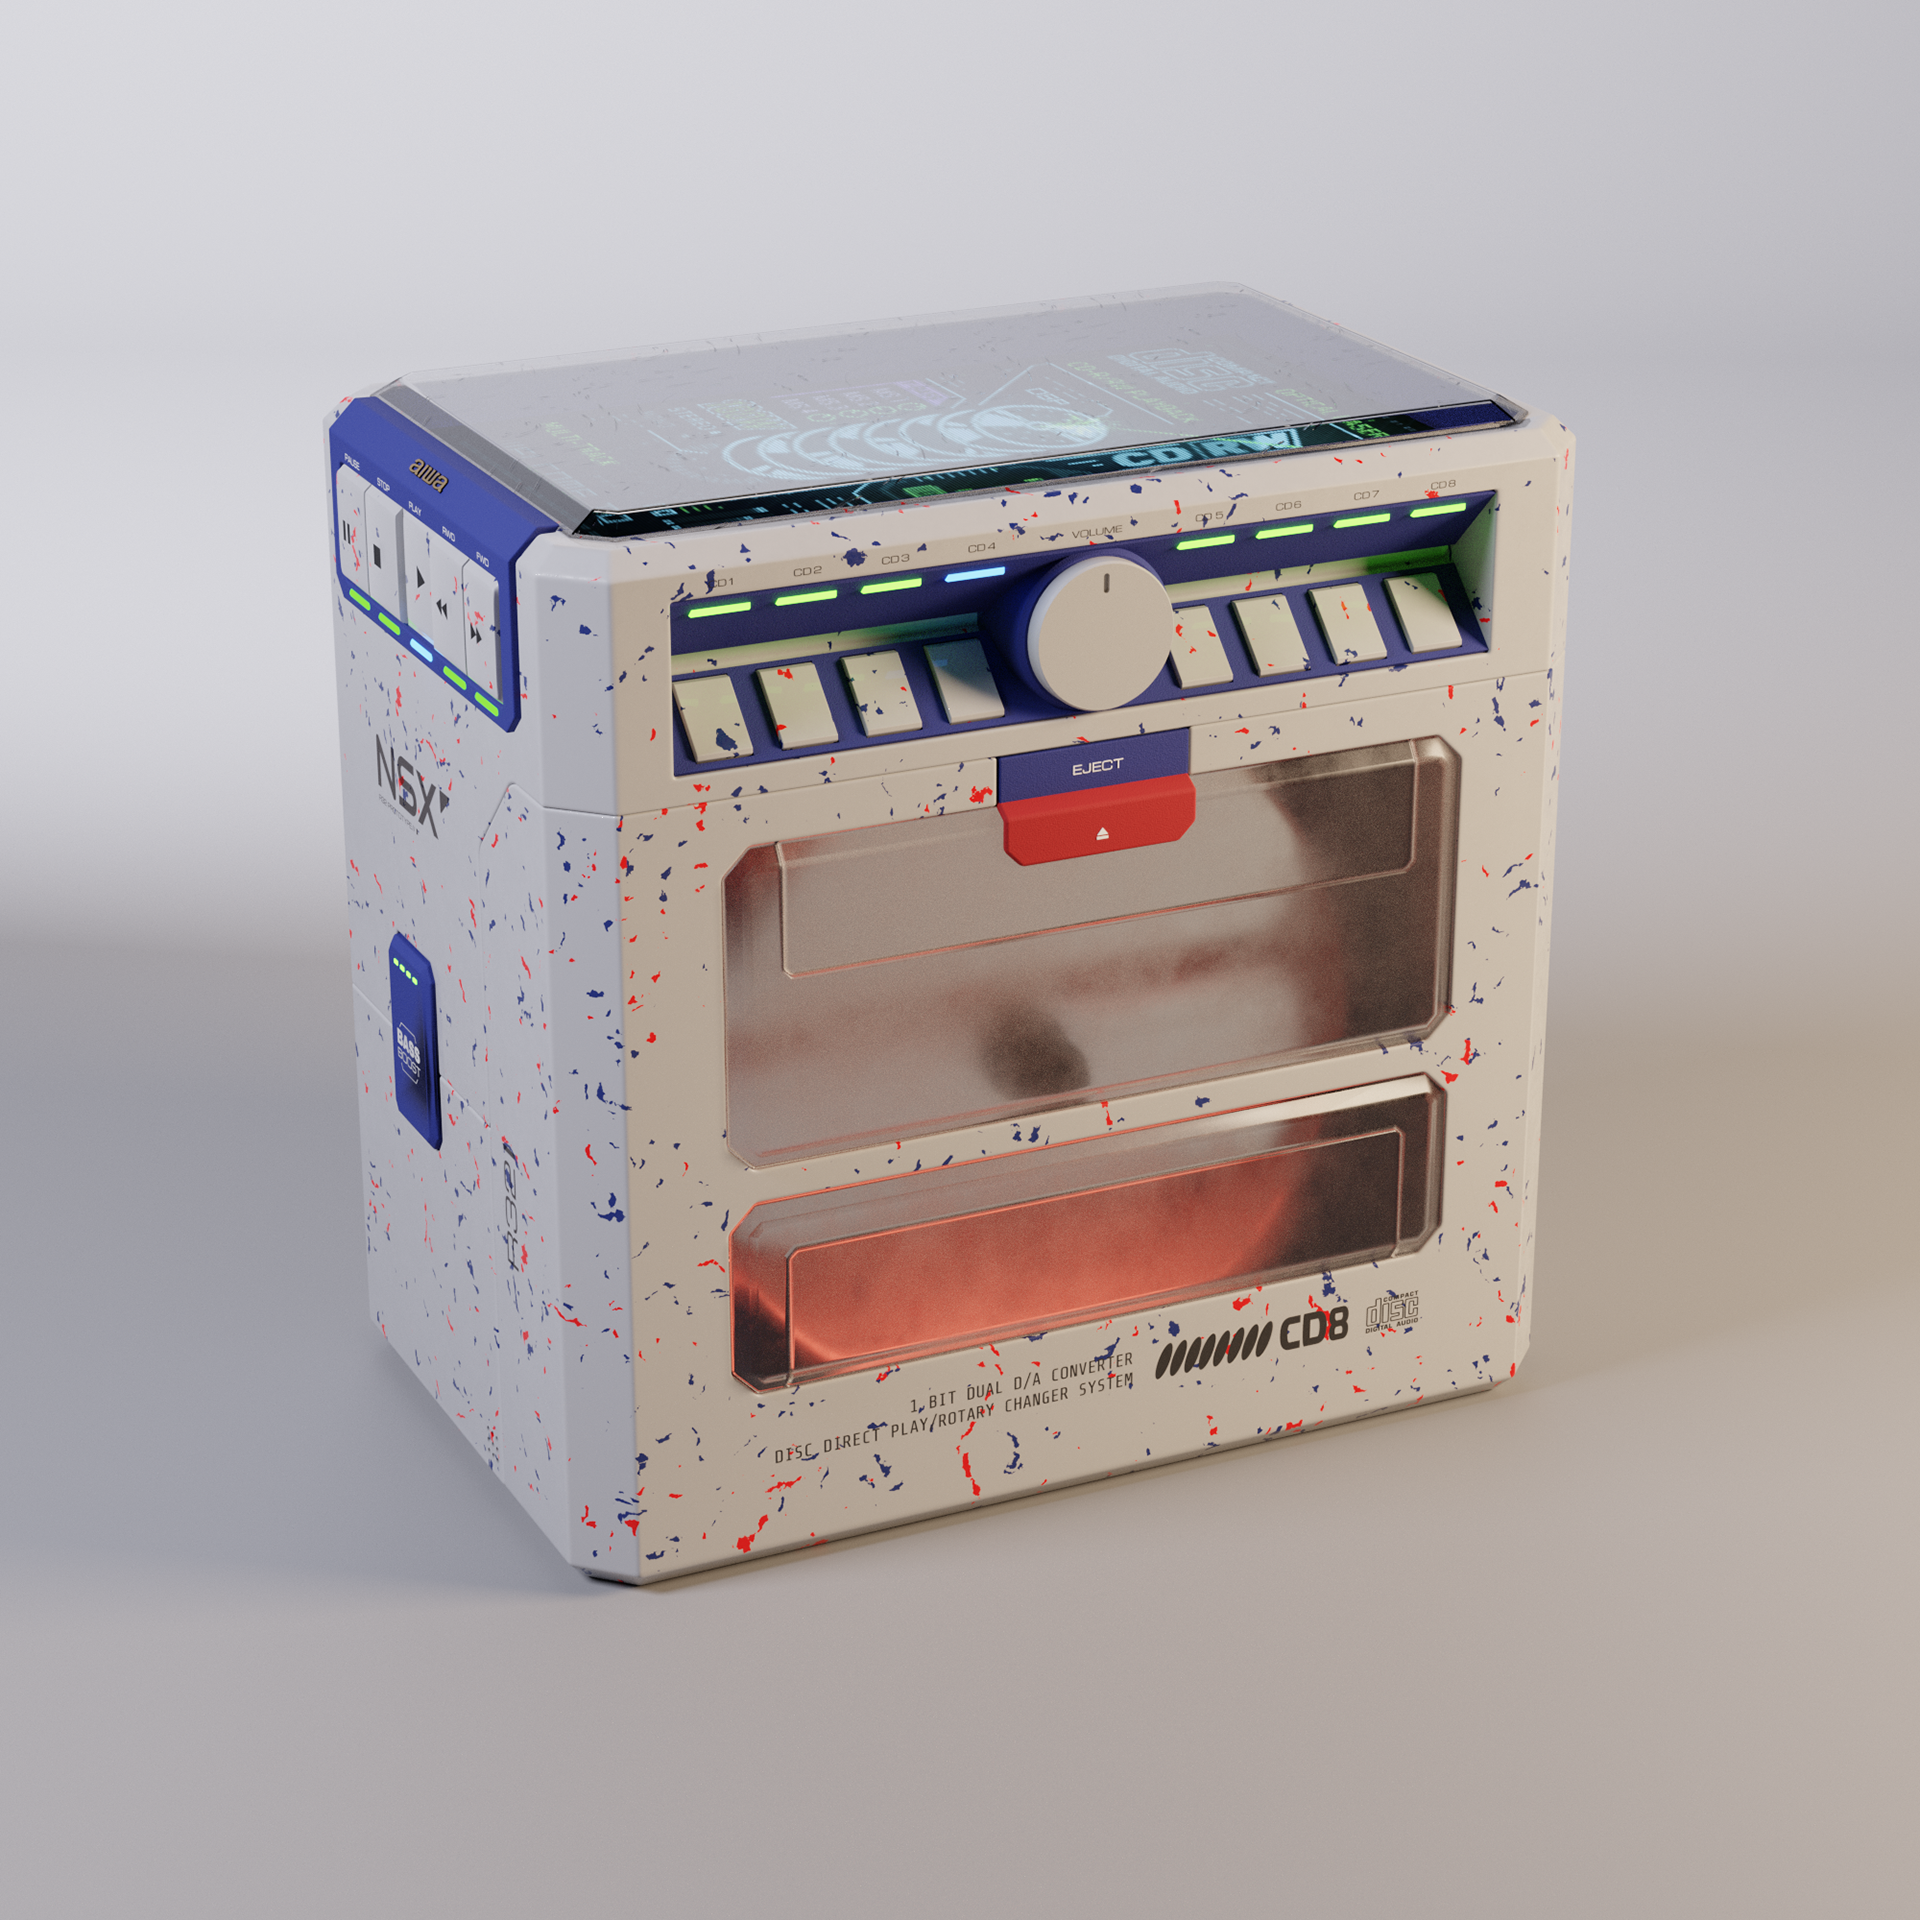
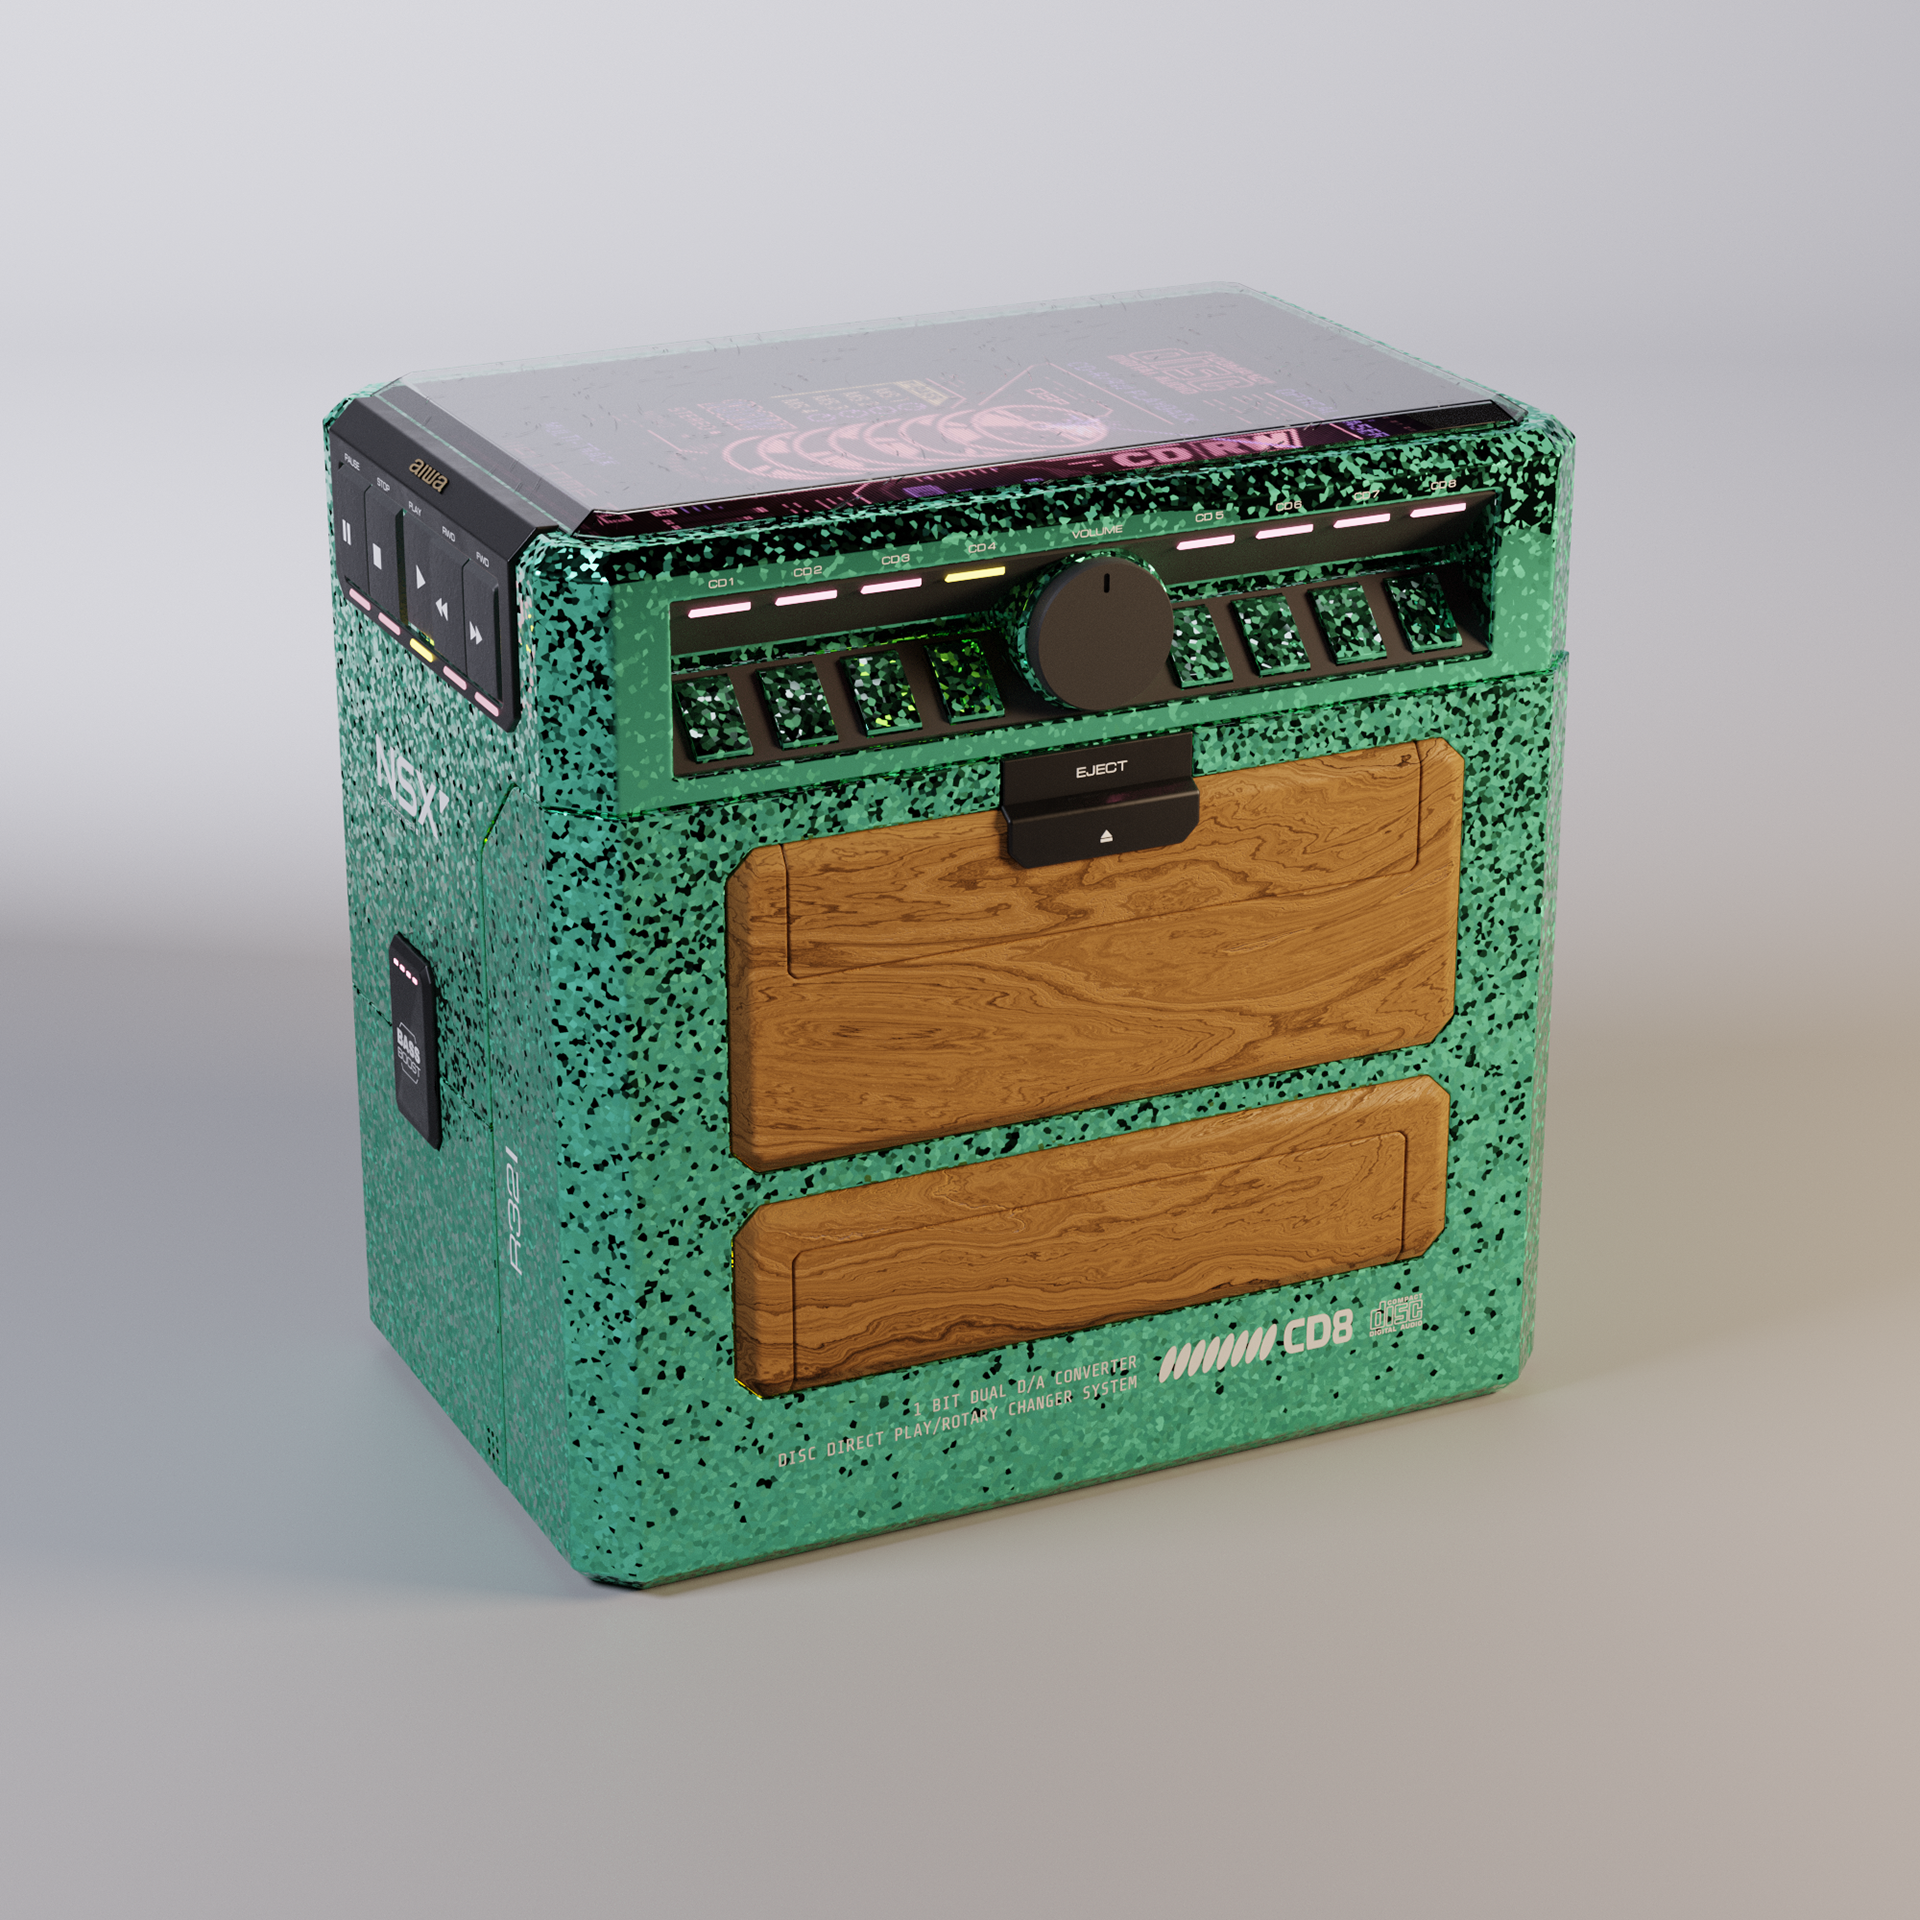
and some funky material variants
and some funky material variants
ANIMATION
-
Most of the animation happens inside the looping plane. but I played around a bit with Blender's Array modifier to create some interesting multiplications and patterns
